 Everett
 Siding Failure Starts Before You Can See It
By the time siding looks bad — chalky, warped, staining at the seams — the actual failure usually started months or years earlier, in a place you can't see from the driveway. Siding is the outermost layer of a wall assembly, not a standalone shell. Behind it sits a water-resistive barrier, sheathing, framing, and insulation, and every one of those layers is depending on the siding to do its job. When siding stops shedding water the way it's supposed to, the problem doesn't stay on the surface. It moves inward, one layer at a time, and each layer it reaches is more expensive to repair than the one before it.
This page is about that process — not the checklist of visible warning signs, but the actual sequence of what's physically happening behind a wall when siding starts to fail, and why Everett's climate makes that sequence move faster than it does in a lot of the country.
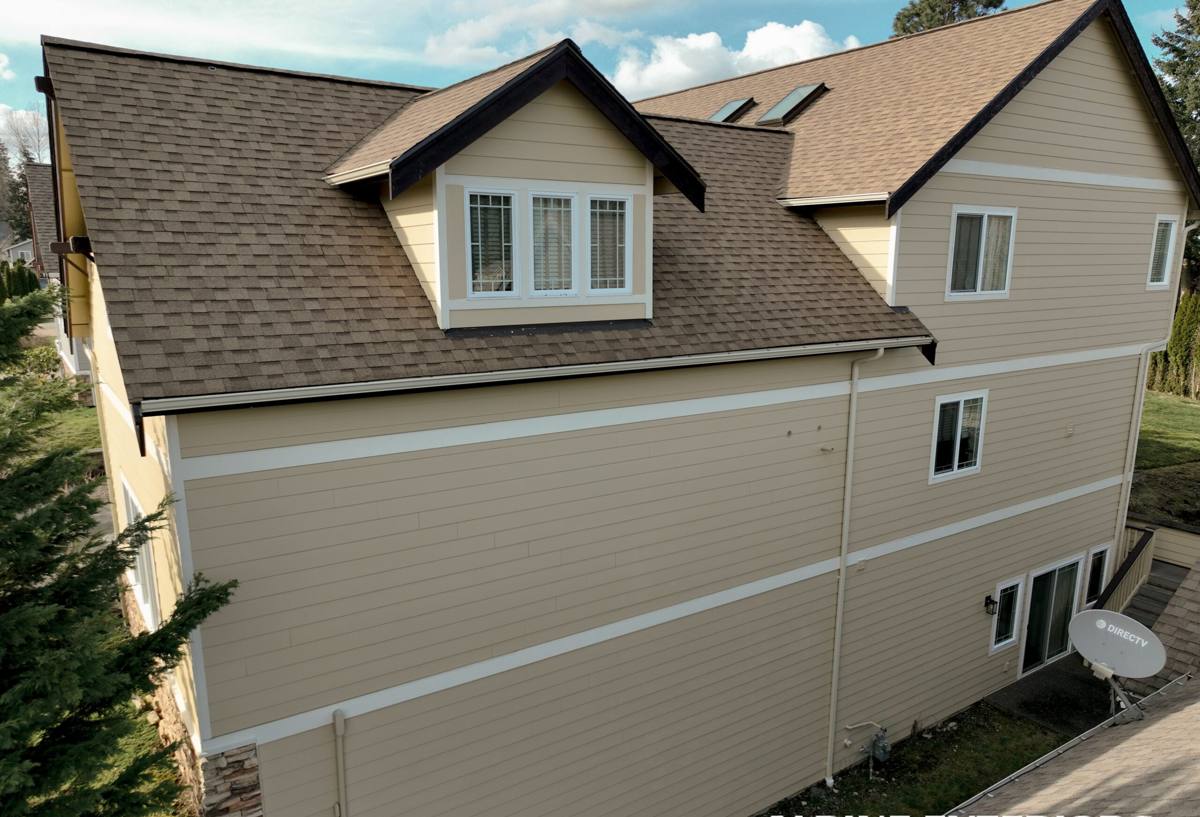
Why Everett's Climate Is a Harder Test Than Most Regions Face
Snohomish County homes deal with a specific combination of stresses that push siding and the wall behind it harder than a drier, calmer climate would. Salt air moving in off Possession Sound and Puget Sound accelerates the corrosion of fasteners and metal flashing. Driving rain — wind-driven, hitting walls at an angle instead of falling straight down — pushes water into seams, laps, and trim joints that a purely vertical rainfall would never reach. And a moss season that can run from fall through spring keeps shaded, low-airflow wall sections damp for weeks at a stretch, which is exactly the condition that lets organic growth and trapped moisture do their slow work on a surface.
None of that means Everett siding is destined to fail. It means the margin for error is smaller here than it is in a lot of the country, and small installation or material shortcomings that might take decades to matter elsewhere can show up in half that time on a home exposed to this much wind-driven moisture.
Step One: The Finish or Surface Layer Breaks Down
Every siding material has some kind of outer defense — paint, a factory finish, a protective coating — and that layer is the first thing exposed to sun, rain, and salt air. Over time, UV exposure breaks down the binders in a finish, which is what causes chalking, fading, and eventually micro-cracking in the surface. Once that outer layer is compromised, it's no longer doing its actual job, which is keeping bulk water from reaching the material underneath.
This step is often invisible to a homeowner because the siding can still look mostly fine from a distance. A finish that's lost its integrity doesn't always announce itself with obvious peeling — sometimes it's just a duller color and a slightly rougher surface texture, which most people read as normal aging rather than a functional failure.
Step Two: Water Gets Past the Cladding
Once the surface finish is compromised, or once a seam, joint, or fastener hole opens up, water starts getting past the siding itself. Where it goes next depends heavily on the material:
- Wood-based products absorb water directly into the fibers, which is what causes swelling, cupping, and eventually rot from the inside out.
- Vinyl siding doesn't absorb water the same way, but gaps at seams and around fasteners let water track behind the panels and down the wall.
- Fiber cement that's installed correctly is dimensionally stable and doesn't absorb water into its structure the way wood does, which is a major part of why it behaves differently in this stage.
This is also the stage where a properly installed water-resistive barrier is supposed to do its job — catching whatever gets past the cladding and directing it back out before it reaches the sheathing. A house wrap that's torn, improperly lapped, or missing at a critical transition (like a window head or a butt joint) is often the actual point of failure, even when the siding itself gets the blame.
Why Flashing Details Matter More Than People Expect
Flashing at windows, doors, and horizontal joints is designed to route water down and out, layer by layer, the way shingles on a roof do. A missed or reversed flashing detail doesn't cause a problem every time it rains lightly — it causes a problem during the specific storm event that pushes enough wind-driven water at the wrong angle to find that one gap. That's part of why failures in this region often trace back to a handful of specific installation details rather than the material choice alone.
Step Three: The Sheathing and Framing Start Absorbing Moisture
Once water gets past both the cladding and the water-resistive barrier, it reaches the wood-based sheathing (usually OSB or plywood) that the siding is fastened to. This is where the real cost of a failure starts to climb. Sheathing that stays wet for extended periods loses structural stiffness, and if the moisture is sustained rather than occasional, it starts to support mold growth and eventually rot. Framing members behind the sheathing are next in line, and once framing is compromised, the repair is no longer a siding job — it's a structural one.
This stage can go on for a long time without any visible sign from outside, because the siding covering it may still look intact. It's often the insulation and interior finishes that reveal the problem first, simply because they're more sensitive to moisture than the cladding sitting in front of them.
Step Four: Insulation and Interior Finishes Show the Damage
Wet insulation loses much of its R-value, which is part of why an unexplained jump in heating costs can sometimes be an early sign of a moisture problem no one has connected to the siding yet. As moisture continues to build, it can reach the interior side of the wall — showing up as peeling paint, bubbling drywall, a musty smell along exterior walls, or soft, cool-to-the-touch wall surfaces. By this point, the damage has moved through every layer of the wall assembly, and addressing it means opening up the wall, not just replacing the siding on the outside.
What Determines How Fast This Sequence Moves
| Factor | Speeds Up the Sequence | Slows Down the Sequence |
|---|---|---|
| Material moisture behavior | Absorbent materials (wood-based products) that swell and hold water | Dimensionally stable, non-absorbent materials like fiber cement |
| Installation quality | Missed flashing, poor caulking, incorrect fastener patterns | Correct flashing sequence, proper gaps and sealant at joints |
| Wall exposure | West and south walls facing driving rain and salt air directly | More sheltered elevations with less direct wind-driven exposure |
| Maintenance schedule | Skipped repainting cycles or ignored early finish breakdown | Regular inspection and prompt attention to early finish wear |
| Landscaping and drainage | Sprinklers hitting the wall, vegetation trapping moisture against siding | Water directed away from the foundation and wall, clearance from plantings |
Why This Sequence Matters for Material Choice
Understanding this sequence is part of why we made the decision to install James Hardie fiber cement siding exclusively rather than offering a mix of products. Fiber cement doesn't absorb water into its structure the way wood-based siding does, so step two of this sequence — water reaching the material and starting to swell or rot it from within — behaves very differently. Hardie's HZ5 product formulation is engineered specifically for wet, moisture-heavy climates like ours, and the factory-applied ColorPlus finish is cured under controlled conditions rather than field-applied, which slows down step one of the sequence considerably compared to site-finished paint or primer.
None of that makes correct installation optional. Even the most moisture-resistant cladding still depends on proper flashing, correct fastening, and a sound water-resistive barrier behind it — the material choice changes how forgiving the wall assembly is of small errors and aging finishes, not whether installation quality matters at all.
A Self-Check for Homeowners: Where to Look First
You don't need special equipment to catch this sequence early. A short walk around the exterior once or twice a year, focused on the spots that fail first, catches most problems while they're still cheap to fix:
- Press gently on siding near the bottom courses and anywhere close to grade — sponginess suggests moisture is already behind the surface
- Check caulk lines and joints at windows, doors, and corner trim for cracking or gaps that could be letting water track behind the cladding
- Look at west and south-facing walls for chalking or finish breakdown, since those elevations take the most direct sun and driving rain
- Check shaded, north-facing walls for moss or dark staining that keeps returning after cleaning
- Walk interior rooms along exterior walls and note any musty smell, staining, or unusually cool, damp-feeling wall surfaces
- Confirm gutters and downspouts are directing water away from the wall rather than splashing back against the siding
When It's a Maintenance Fix vs. a Structural One
Not everything on this page means a full re-side. Isolated caulk cracking or a single area of finish wear on an otherwise sound wall is usually a maintenance item. Soft sheathing behind multiple sections, a musty smell that persists, or finish failure spread across large parts of the house are signs the sequence has already moved past the cladding layer, and at that point patching the visible siding tends to mask the problem rather than solve it. An honest assessment means checking what's actually happening behind the wall, not just what's visible on top of it.
Getting an Honest Look at Your Wall
If you're noticing early finish wear, a section that feels different than the rest of the house, or you'd simply like an outside opinion before a small issue turns into a bigger one, an in-person inspection tells you more than any article can. We look at the details that actually drive this sequence in Snohomish County homes — flashing, fastener condition, finish integrity, and wall exposure — and give you a straight answer on what's cosmetic and what needs attention. If replacement does make sense, we'll walk you through why James Hardie fiber cement is the system we install and stand behind. Reach out below for a free, no-pressure estimate.