 Everett
 South Everett's Climate Doesn't Go Easy on Siding
South Everett is a mix of established mid-century neighborhoods and newer infill housing, set back from the immediate waterfront but still well within reach of the marine weather that defines this part of Snohomish County. Homes here take on salt-tinged air moving inland off Puget Sound and Port Gardner Bay, sit through driving, wind-pushed rain most of the fall and winter, and — thanks to mature tree canopy on a lot of South Everett lots — stay damp long enough on shaded and north-facing walls to grow a real moss problem most of the year. None of that is unique to one street or one subdivision. It's the baseline every exterior wall in this area has to hold up against, year after year.
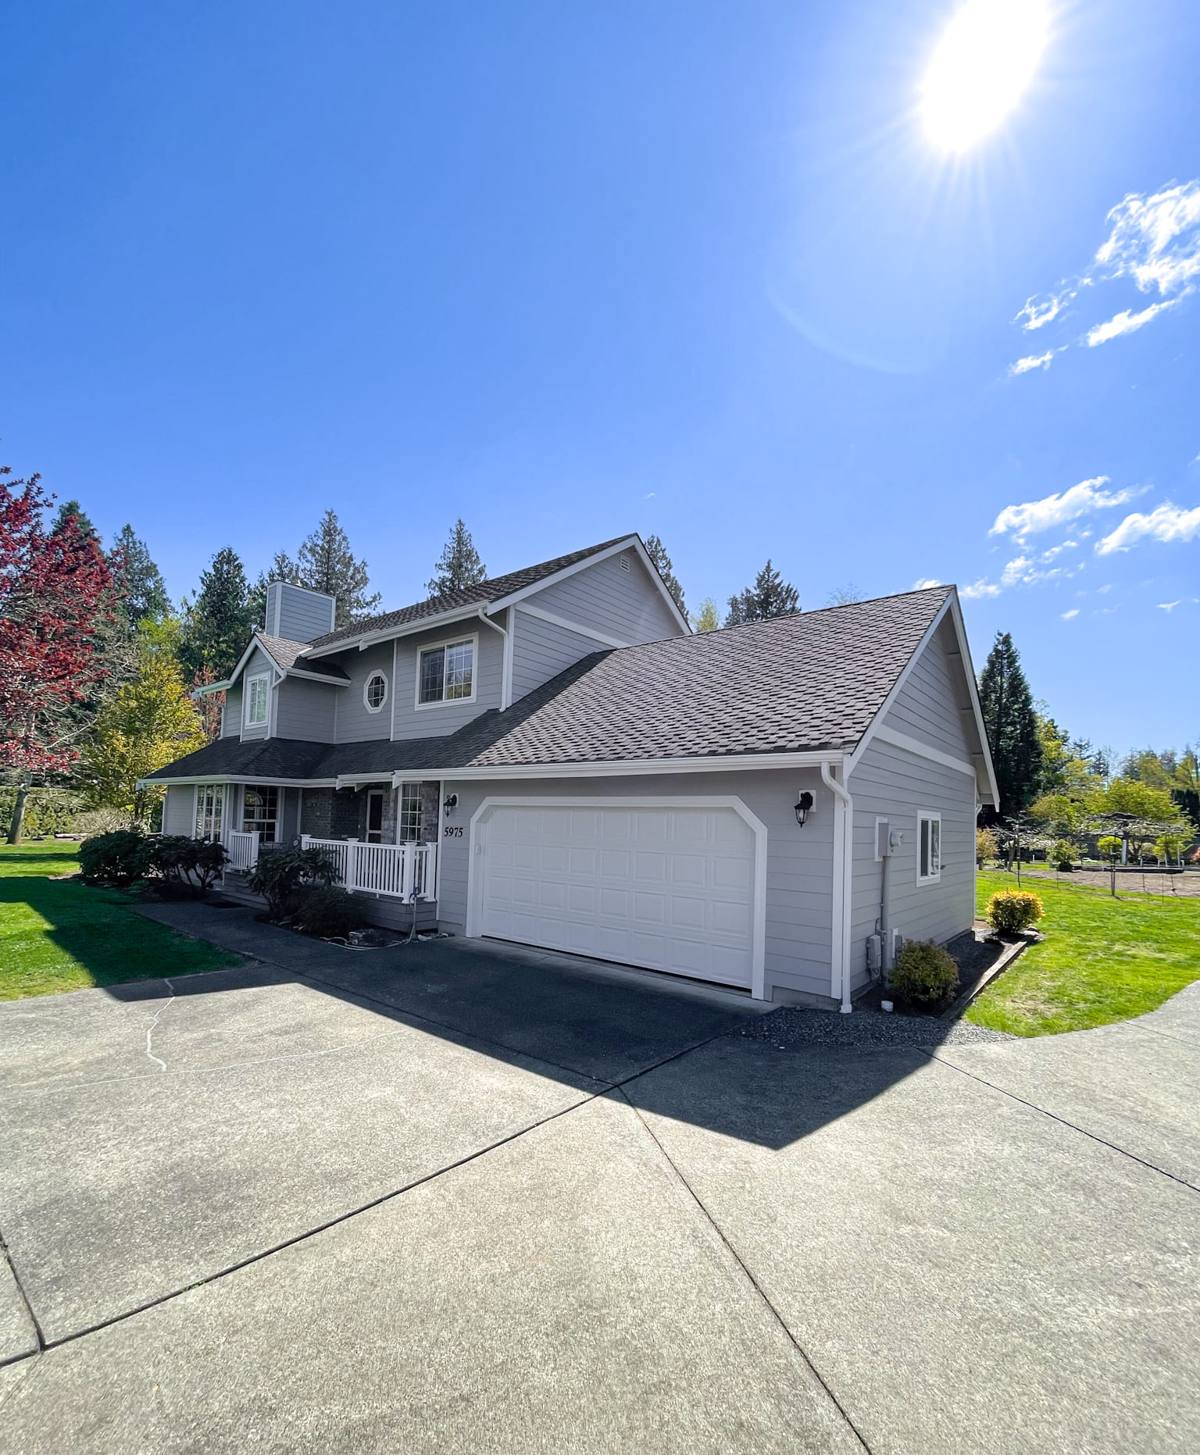
We install James Hardie fiber cement siding exclusively, and South Everett is one of the areas we work in regularly. This page is about that specific combination: fiber cement siding, installed correctly, on South Everett homes — what the climate demands of the material, what a correct installation actually involves, and why it's worth hiring a crew that already knows this part of Everett rather than someone driving in from out of the area for a one-off job.
What a Correct Fiber Cement Job Actually Involves
Fiber cement siding has a reputation for being low-maintenance and long-lasting, and that reputation is earned — but only when the installation follows the manufacturer's specifications closely. A Hardie board is only as good as what's behind it and how it's fastened, and in a wet climate like this one, the details that don't show on the surface are usually the ones that matter most.
Tear-Off and What's Underneath
Every re-side starts with removing the old siding and actually looking at the sheathing underneath, not assuming it's fine. On South Everett homes we're often uncovering decades of small moisture intrusion — soft spots around old window flashing, staining behind trim, sheathing that's held up fine but needs a section replaced before new siding goes over it. Skipping this step and siding directly over a compromised wall is one of the most common ways a siding job fails early, regardless of the product used.
Weather-Resistive Barrier and Flashing
Behind every correctly installed Hardie system is a continuous weather-resistive barrier and properly integrated flashing at every window, door, and penetration. This is the layer that actually keeps bulk water out of the wall assembly — the siding itself is the second line of defense, not the first. Given how much wind-driven rain this area gets in a typical winter, gaps or shortcuts here are where water finds its way in, and they're invisible until something starts to rot behind the wall.
The Right Board for This Climate
We install Hardie's HZ5 product line, engineered specifically for colder, wetter climate zones like western Washington rather than a generic national product. It's formulated to handle the moisture cycling this region puts siding through — repeated wetting and drying, temperature swings, sustained damp stretches — without the warping or degrading that some materials show after a few winters.
Joints, Caulking, and Fastening
Butt joints, corner details, and fastener placement all have to follow Hardie's published installation manual — correct nail or screw type, correct spacing, correct clearance from the ground, roofline, and any deck or patio surface. A board that's fastened wrong or caulked incorrectly at a joint can crack, hold water, or fail at that exact seam years before the rest of the wall shows any wear. This is installation-sensitive work, and it's a big part of why we'd rather have crews who know one product's specifications cold than spread that expertise thin across several materials.
What We Find Tearing Old Siding Off South Everett Homes
Every neighborhood has its own pattern of wear, shaped by tree cover, sun exposure, and the age of the housing stock. In South Everett, the recurring issues we run into are pretty consistent:
| What We See | Usual Cause | Cosmetic or Structural? |
|---|---|---|
| Dark green or black staining on north-facing or shaded walls | Moss and algae growth from prolonged dampness and limited sun exposure | Usually cosmetic, but signals a wall that stays wet longer than it should |
| Cracked or failing caulk at trim and window edges | Age and repeated expansion/contraction from temperature swings | Can become structural if water tracks behind it unaddressed |
| Soft or discolored sheathing found during tear-off | Long-term minor leaks at old flashing or siding laps | Structural — needs repair before new siding goes on |
| Warped or bowed panels on older wood-based siding | Moisture absorption without adequate drying between wet seasons | Structural — usually the reason the re-side was needed in the first place |
| Faded, chalky paint on field-painted siding | UV and moisture wear on a coating not engineered for this climate | Cosmetic, but a sign the finish system has reached the end of its service life |
None of this is unusual or a sign of a poorly built home — it's just what western Washington weather does to a wall over enough years. It's also exactly why the assessment before any siding job starts matters as much as the installation itself.
Our Process, Start to Finish
- On-site assessment. We walk the exterior, check for soft spots and existing moisture damage, and talk through what your walls are actually dealing with — sun exposure, shade, drainage around the foundation.
- Estimate and product selection. A written estimate along with your Hardie product line, texture, and finish options, based on what fits your home and this climate.
- Permitting. We handle the permit process before work begins rather than treating it as optional paperwork.
- Tear-off and sheathing check. Old siding comes off, sheathing gets inspected, and any repair needed happens before anything new goes up.
- Weather-resistive barrier and flashing. Continuous barrier installed, flashing integrated at every window, door, and penetration.
- Hardie installation to spec. Boards fastened, spaced, and clearanced according to the manufacturer's manual, not shortcuts.
- Trim, caulking, and touch-up. Cut edges sealed and touched up to match, joints properly caulked.
- Final walkthrough. We go over the finished job with you before calling it done, and clean up the site.
Why Hiring a Crew That Already Works South Everett Matters
Siding contractors who work all over western Washington aren't necessarily doing anything wrong, but there's a real advantage to hiring a crew that already knows this specific area. We know the mix of home ages and construction styles common in South Everett neighborhoods, we're familiar with the local permitting process, and if a warranty question or a punch-list item comes up after the job is done, we're not driving in from another county to handle it. We've also seen enough South Everett walls come apart during tear-off to know where problems tend to hide on homes with this area's typical tree cover and sun exposure — knowledge that's hard to substitute for on a first-time job in an unfamiliar neighborhood.
Cost Factors for a South Everett Fiber Cement Project
Every home is different, and we don't quote a job without seeing it, but the factors that move the price on a South Everett siding project are consistent:
| Factor | How It Affects the Project |
|---|---|
| Home size and wall square footage | The most direct driver of material and labor cost |
| Number of stories | Two- and three-story homes need scaffolding or lift access, adding labor time |
| Existing siding removal | Multiple old layers or heavier materials take longer to remove and haul away |
| Sheathing or rot repair found during tear-off | Can't be fully priced until the old siding is off and the wall is visible |
| Trim complexity | Gables, dormers, and a high window count add cutting and detail time |
| Product line and finish | ColorPlus factory finish versus field-painted primed board changes both cost and finish warranty |
| Site access | Tight lots, fencing, or dense landscaping slow material staging and cleanup |
Choosing the Right Line and Finish for This Area
Most South Everett homes we side get the HZ5 line in Hardie's factory-applied ColorPlus finish rather than a field-painted primed board, mainly because the factory finish resists fading and chalking far better than paint applied on a jobsite in a climate that rarely gives you a long, dry, stable painting window. Lighter colors show moss and algae staining faster on shaded, tree-covered lots, which is part of why a lot of homeowners in this area lean toward mid-tone grays and browns rather than white. Texture matters too — a cedarmill finish reads more traditional and hides light surface dirt better than a smooth panel, which is a reasonable factor to weigh alongside color rather than as an afterthought.
A Checklist Before You Hire Anyone for Siding Work in South Everett
- Confirm the contractor is licensed and bonded in Washington
- Ask specifically about experience with the product they're proposing, not just "siding" in general
- Get the installation clearances and flashing plan in writing, not just a verbal assurance
- Confirm who pulls the permit and when
- Ask what happens if rot or sheathing damage is found once the old siding comes off
- Clarify whether the finish is factory-applied or will require field painting
- Get the warranty terms in writing, including whether they transfer if you sell the home
Ready When You Are
If your South Everett home's siding is showing moss staining, failing caulk, or you're just planning ahead for a re-side, we're happy to take a look and put together a free, no-pressure estimate based on what your walls actually need.