 Everett
 Siding Repair in Lynnwood's Climate
Lynnwood sits in the thick of Snohomish County's marine climate — close enough to Puget Sound to catch salt-laden air, far enough into the foothills to get the long, gray rainy stretches that define a Western Washington winter. Add a shaded lot with mature conifers, which describes a lot of Lynnwood streets, and you get months of damp shade where moss and algae never really stop growing. None of that is dramatic on its own, but stacked together over years, it's exactly the kind of slow, steady exposure that finds every weak point in a home's siding.
Siding repair here isn't just about patching a cracked board or a dented panel. It's about understanding why that spot failed in the first place — usually moisture that found a way in and didn't have a way out — and fixing the cause, not just the symptom. A repair that ignores the underlying moisture path will look fine for a season and fail again in the same spot.
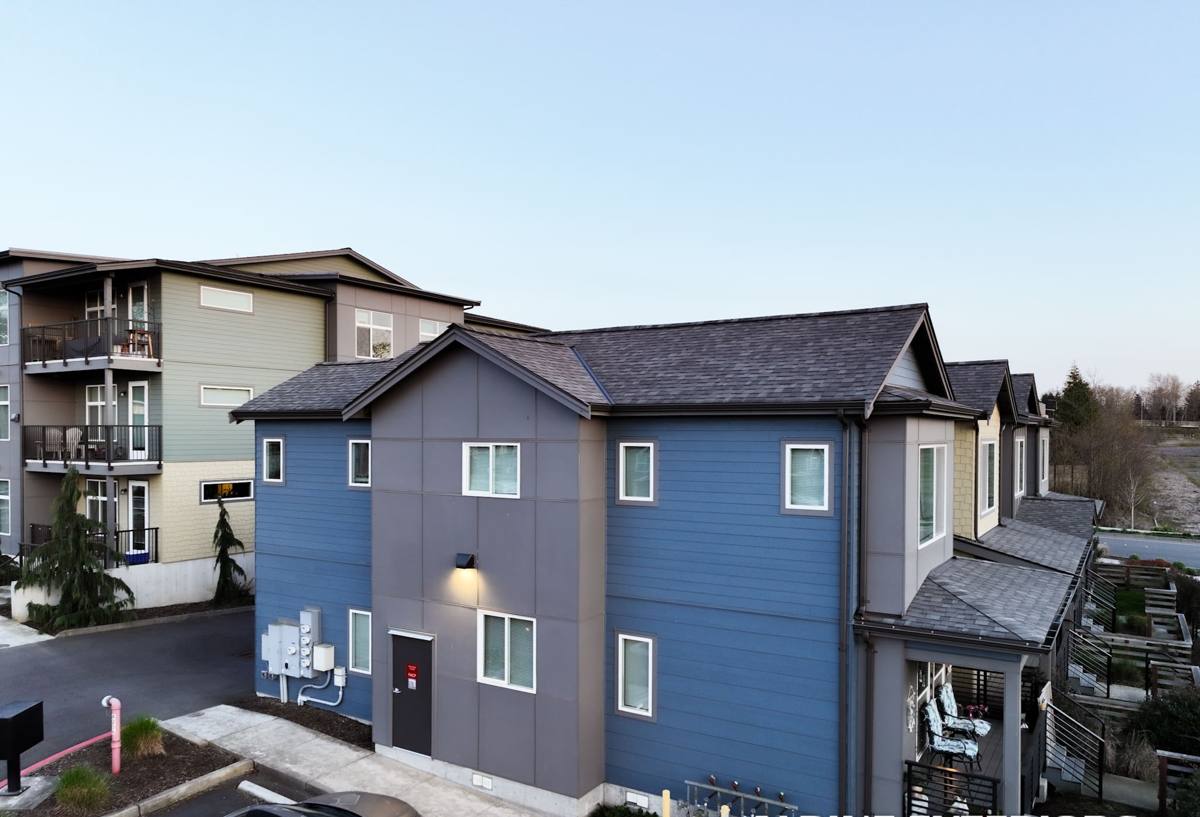
What Actually Damages Siding in This Area
Moisture and moss
Lynnwood's tree cover keeps a lot of siding in shade for large parts of the day, which means it dries slowly after rain. Moss and algae take hold on north-facing walls, under eaves, and anywhere airflow is limited. Left alone, moss holds moisture directly against the siding surface and, on wood-based products, that constant dampness is what starts rot.
Driving rain and wind-driven water
Storms coming off the Sound don't just fall straight down — wind pushes rain sideways into seams, trim joints, and anywhere caulk has shrunk or cracked. Over time this is one of the most common causes of hidden water intrusion behind siding, especially around windows, doors, and butt joints where boards meet.
Salt air and fastener corrosion
Lynnwood isn't waterfront, but it's close enough to Puget Sound that salt content in the air is a real factor, particularly on homes at higher elevation with more wind exposure. Salt air accelerates corrosion on exposed or under-spec fasteners and metal trim, which shows up as rust streaking, loosening panels, and staining that keeps coming back even after the surface is cleaned.
Impact and settling damage
Cracked or split boards, dented panels, and gaps that open up at corners or trim are usually mechanical — impact from debris, ladders, or landscaping equipment, or a house settling slightly over the years. These are simpler fixes, but they still need to be sealed correctly or they become moisture entry points too.
What a Correct Repair Actually Involves
A repair that's done right starts before any new material goes up. Skipping these steps is the difference between a patch that lasts and one that fails again within a year or two.
- Inspect the damaged area and the surrounding field for signs the problem has spread — soft spots, discoloration, or bubbling paint nearby
- Check what's happening behind the siding, not just on the surface — house wrap condition, flashing at windows and penetrations, and whether water has been getting past the cladding
- Identify the actual cause of failure, not just the visible symptom, so the same spot doesn't fail again
- Match the replacement material's profile, reveal, and finish as closely as possible so the repair doesn't stand out
- Reseal and reflash properly at the repair boundary, using materials rated for exterior exposure
- Confirm drainage and airflow are restored, not blocked, once the repair is closed up
That third and fourth step are where a lot of repair work goes wrong. A patch that only addresses what's visible, without checking what let water in, is a repeat visit waiting to happen.
Repair or Replace? How to Think About It
Not every problem area needs a full re-side, and not every damaged section should just be patched and left alone. The right call depends on how much of the wall is affected, what's causing the damage, and how old the existing siding already is.
| Factor | Leans toward repair | Leans toward replacement |
|---|---|---|
| Area affected | Isolated section, one or two elevations | Damage spread across multiple walls |
| Cause | One-time impact or a single failed joint | Systemic moisture intrusion or widespread rot |
| Age of existing siding | Siding is younger and otherwise in good shape | Siding is near or past its expected service life |
| Material match | Replacement material available to match closely | Original product discontinued or no longer manufactured |
| Underlying wrap/flashing | Still sound where tested | Compromised or original wrap failing broadly |
We'll always tell you honestly which side of that line your home is on. There's no benefit to us in talking a homeowner into a full replacement when a targeted repair will genuinely hold up — but there's also no benefit in patching over a problem that's going to reappear six months later somewhere else on the same wall.
Our Repair Process
- On-site assessment. We look at the damaged area, the surrounding siding, and the accessible parts of the wall assembly to understand scope and cause.
- Honest scope and options. We explain what we found in plain terms — what's a straightforward patch, what points to a bigger issue, and what your realistic options are.
- Material sourcing. For Hardie siding, we match by product line, profile, and factory finish. For other materials we work on in a repair capacity, we source the closest available match and are upfront about where an exact match isn't possible.
- Removal and inspection behind the siding. We pull the damaged section, check the wrap and flashing underneath, and address anything we find before closing it back up.
- Installation and sealing. New material goes in to manufacturer spec, with correct fastening, flashing, and sealant at every joint.
- Final walkthrough. We show you the completed work and explain anything you should keep an eye on going forward.
Why We Standardize on James Hardie
Most of the repair calls we get involve siding that wasn't Hardie to begin with — vinyl that's cracked or warped, wood or LP-style panels with rot at the bottom courses, or older fiber cement that's chalking and no longer color-matches new material. We're honest with homeowners about what we find: vinyl repairs are limited because sun-faded panels rarely match new stock exactly, and wood or wood-composite repairs only hold up if the moisture source is fully solved, since new wood in a damp spot will eventually fail the same way the old wood did.
When we do recommend replacing a section — or a full elevation — with James Hardie fiber cement, it's because it's the product we trust to actually solve the problem long-term in this climate. It's non-combustible, engineered for the Pacific Northwest's moisture exposure in Hardie's HZ5 product line, holds its factory ColorPlus finish without the chalking and fading that makes future patch repairs mismatch, and carries a strong transferable warranty. For homeowners tired of repairing the same spot every few years, moving that section to Hardie is often the most permanent fix available — not because other products are junk, but because Hardie's moisture resistance and finish durability hold up better to exactly the conditions Lynnwood sees: shade, damp, and salt air, year after year.
Why Local Repair Experience Matters
Siding repair is one of those jobs where local knowledge actually changes the outcome. A crew that regularly works Lynnwood knows which elevations tend to hold moisture longest given the tree cover and lot orientation common in the area, what moss growth patterns usually mean underneath, and how salt air factors into fastener choice on more exposed homes. That's the difference between a repair that addresses what's visible and one that catches the actual cause before it spreads.
It also means faster, more accurate estimates. We're not learning the area's climate patterns on your project — we've already seen how these issues show up on homes nearby, which means less guesswork and a repair plan built around what's actually likely, not just what's textbook.
After the Repair: Keeping It That Way
A good repair only stays good with basic upkeep. This isn't a heavy maintenance list, but skipping it is how small problems come back.
- Rinse moss and algae off shaded or north-facing walls before it builds up thick enough to trap moisture
- Keep gutters clear so overflow isn't running down the siding face
- Trim back vegetation that keeps a wall section shaded and slow to dry
- Re-caulk joints and trim as sealant ages — it doesn't last forever, even when it looks intact
- Walk the exterior once or twice a year and look for new cracks, soft spots, or rust streaking near fasteners
If you're dealing with damaged, cracked, or failing siding on a Lynnwood home, we're glad to take a look and give you a straight answer about what it needs — a targeted repair, a partial re-side, or something bigger. There's no pressure and no cost to get our assessment; the estimate form below is the easiest way to get started.