 Everett
 New-Construction Windows for South Everett Homes
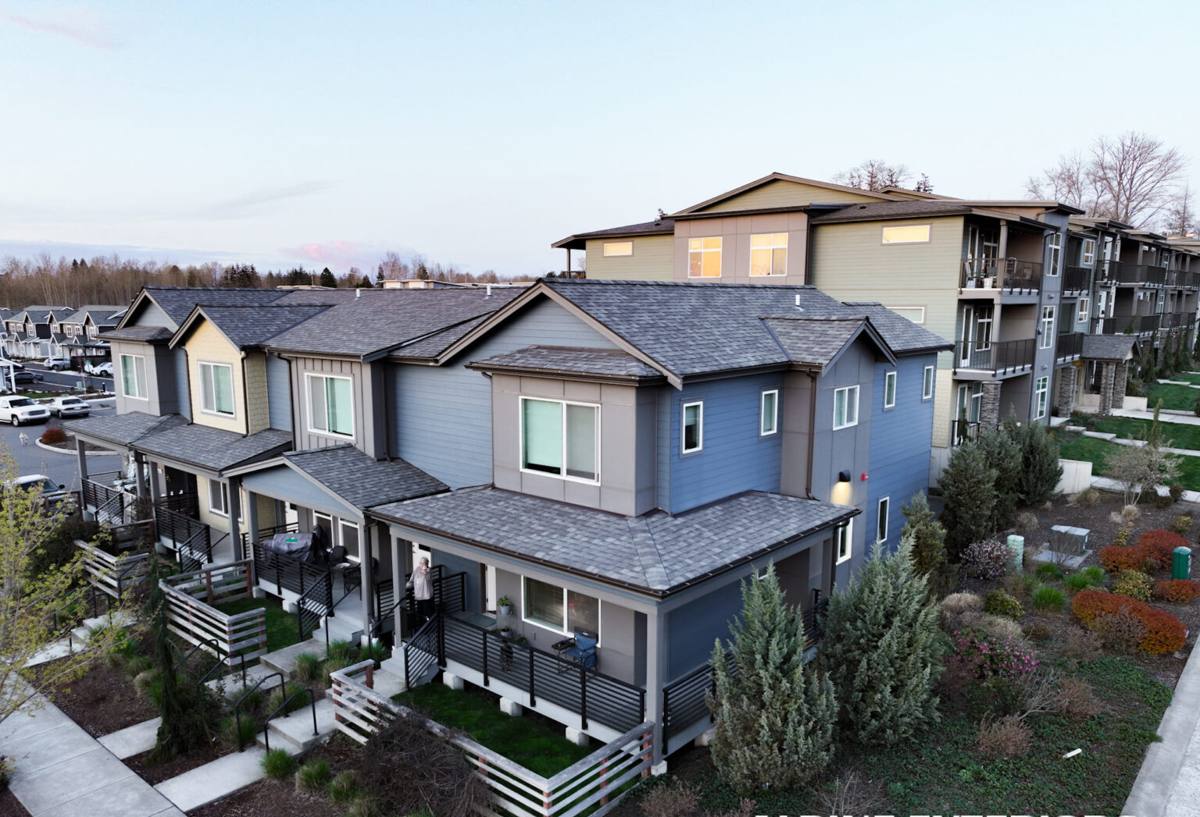
South Everett has seen a steady run of infill building, additions, and full teardown-rebuilds over the past several years — new single-family homes, ADUs, and multi-unit projects going up on lots that used to hold something older. Any time a wall is open to the studs, whether it's a brand-new build or a room addition, you have a one-time opportunity to install windows the right way: with a proper nailing flange, correct flashing sequence, and full integration into the water-resistive barrier. Get it right at this stage and the window will perform for decades. Get it wrong and you're chasing leaks behind siding you just paid to install.
We install new-construction window systems for builders, GCs, and homeowners doing additions throughout South Everett and the surrounding Snohomish County area. This page covers what that work actually involves and what our local crew pays attention to that an out-of-area installer often misses.
New-Construction vs. Replacement — Why the Distinction Matters
"New-construction" windows aren't a style or a brand — they're a window with an integrated nailing fin (flange) around the perimeter of the frame, designed to be fastened directly to the sheathing before siding or trim goes on. That's different from a "replacement" or "pocket" window, which is built to slide into an existing frame with the exterior finish already in place.
- New-construction (flanged): Installed before the WRB and siding, flange gets flashed and taped into the drainage plane. This is the correct method for new builds and additions.
- Replacement (pocket/insert): Installed into an existing, intact frame — no access to the rough opening or sheathing. Used on remodels where the old frame is sound.
- Mixing the two up costs money: a flanged window forced into a finished wall, or a pocket window used where the framing is open, both create problems that show up later as water intrusion or poor fit.
If your project is framed and open to the sheathing — new build, addition, or a full re-side down to the studs — you want a flanged, new-construction window and a full flashing installation, not a shortcut retrofit.
What Our Regional Climate Asks of a New Window
Everett sits on Puget Sound, and South Everett gets the same weather load as the rest of the city: salt-tinged air off the water, long stretches of driving, wind-blown rain rather than gentle vertical rainfall, and a wet season that runs long enough to grow moss on anything that stays damp and shaded. None of that is exotic — it's normal Snohomish County weather — but it does mean a window installation has less room for error than it would in a drier climate.
- Salt air: accelerates corrosion on unprotected fasteners and lower-grade hardware. We spec corrosion-resistant fastening and hardware appropriate for a marine-influenced environment, not generic interior-grade screws.
- Driving rain: wind-driven rain pushes water sideways and upward, not just down. That means flashing has to be sequenced correctly — every layer lapped so water sheds outward at every point, with special attention to the sill and the head flashing above the window.
- Long wet season / moss: constant moisture and shade encourage moss and algae growth on any horizontal or slow-draining surface, including window sills and trim. A window with a poorly sloped sill or trapped drainage path stays damp longer than it should, which shortens the life of the finish and the caulk joints around it.
A window that's correctly flashed, sloped, and sealed shrugs off all of that. A window that's rushed — caulk substituted for proper flashing tape, no sill pan, fasteners skipped — will show it within a few wet seasons, usually as staining, soft trim, or a draft.
What a Correct Installation Actually Involves
There's a specific, non-negotiable order of operations for a flanged window going into a new or open wall. We follow it the same way every time:
- Rough opening check: confirm the opening is square, plumb, and sized correctly for the window before it ever goes in.
- Sill pan flashing: a sloped, sealed pan at the bottom of the opening so any water that does get past the window drains back out, not into the wall.
- Jamb and head flashing tape: self-adhered flashing membrane integrated with the WRB in the correct shingle-lap order — sides first, then head, so water always moves down and out over the next layer below it.
- Window set and fastened: flange fastened per the manufacturer's schedule, with backer rod and sealant at the frame-to-rough-opening gap — never just foam alone.
- Head flashing / drip cap: installed above the window before siding closes in, to break the water path before it ever reaches the top of the frame.
- Interior air seal: a continuous seal on the interior side of the frame, separate from the exterior weather seal, so the assembly performs for both water and air control.
Every one of those steps is hidden once siding and trim go on. That's exactly why it has to be done right the first time — nobody's opening the wall back up to fix a missed step.
Choosing the Right Window for a South Everett Build
Frame material and glass package both affect how a window holds up to salt air, rain, and our mild-but-damp temperature swings. We'll talk through options based on your budget and the look of the project, but here's the honest breakdown:
| Frame Material | Strengths | Trade-offs in Our Climate |
|---|---|---|
| Vinyl | Lower cost, no painting, good weather seal | Limited color options; can flex on very large openings |
| Fiberglass | Dimensionally stable, holds paint well, strong seal over time | Higher upfront cost than vinyl |
| Wood (clad exterior) | Traditional interior look, clad exterior sheds weather well | Interior wood needs upkeep if exposed to moisture; higher cost |
| Aluminum | Slim sightlines, strong frame | Conducts cold/heat more than other options; needs a thermal break for our climate |
On glass, we typically recommend a Low-E coated, argon-filled double-pane unit as the baseline for this climate, with triple-pane as an upgrade option for rooms facing prevailing wind and rain or where noise from a busy street is a factor. NFRC ratings matter more here than in a dry climate — we look at U-factor for heat loss and the condensation resistance rating, since consistent humidity is part of what a window has to handle year-round in Snohomish County.
Our Process for Builders and Homeowners
Whether you're a GC framing a new South Everett build or a homeowner managing your own addition, the process looks the same:
- Plan review and takeoff: we work from your plans or rough openings to confirm sizes and quantities before ordering, so there's no guessing on-site.
- Product selection: we walk through frame material, glass package, and any energy-code requirements that apply to your project.
- Scheduling around your framing timeline: new-construction windows have to go in at a specific point in the build sequence — after sheathing and WRB, before siding. We coordinate directly with your builder or your own schedule so the wall isn't left open longer than necessary.
- Installation: full flashing and flange installation per manufacturer spec, documented as we go.
- Final check: operation, seal, and squareness confirmed on every unit before we call the job done.
A Quick Checklist for Homeowners and GCs
If you're vetting a crew for a new-construction window install, or just want to know what to look for once the work is done, this covers the basics:
- Sill pan flashing installed under every window — not just caulk at the sill
- Flashing tape integrated with the house wrap in proper shingle-lap order
- Corrosion-resistant fasteners used at the flange
- Head flashing or drip cap installed above each window before siding closes it in
- Interior air seal separate from the exterior weather seal
- Windows operate smoothly and close flush with no visible gaps at the frame
- Product documentation (NFRC label, warranty paperwork) provided for your records
Why a Local Crew Matters for This Kind of Work
New-construction window installation isn't complicated in theory, but it's unforgiving in practice — every mistake gets buried behind siding and trim. A crew that works South Everett regularly already knows the exposure differences between a lot that's wide open to the wind off the Sound and one that's more sheltered inland, and adjusts fastening and sealant choices accordingly. We're also familiar with the inspection and energy-code expectations that apply to new builds in Snohomish County, so there are no surprises at final inspection.
Just as important: we're not driving in from out of the area for a single job and disappearing. If a question comes up during your builder's framing inspection, or you notice something during the first wet season and want it looked at, we're a short drive away and easy to reach — not a name on an invoice from three counties over.
Get a Straight Answer on Your Project
If you're framing a new home, an addition, or an ADU in South Everett and need windows installed correctly the first time, we're happy to take a look at your plans or your open framing and give you a straightforward estimate — no pressure, no inflated add-on list. Use the form below to get started.