 Everett
 New-Construction Windows Built for How Snohomish Weather Actually Behaves
Building a new home or putting on an addition in Snohomish means dealing with one of the wetter, saltier corners of Snohomish County. Homes here sit close enough to Puget Sound to pick up salt-laden air, they take driving rain off the water for months at a time, and they go through a long moss season where north- and west-facing surfaces stay damp far longer than they do in drier parts of the state. New-construction windows are one of the first building envelope details set in place, and if they go in wrong, the mistake gets buried behind siding and trim for years before it shows up as a stain, a soft spot, or a draft. Our crew installs new-construction windows in this specific area regularly, which means we're not guessing at how local wall assemblies, flashing details, and weather patterns interact — we've already seen what works and what fails here.
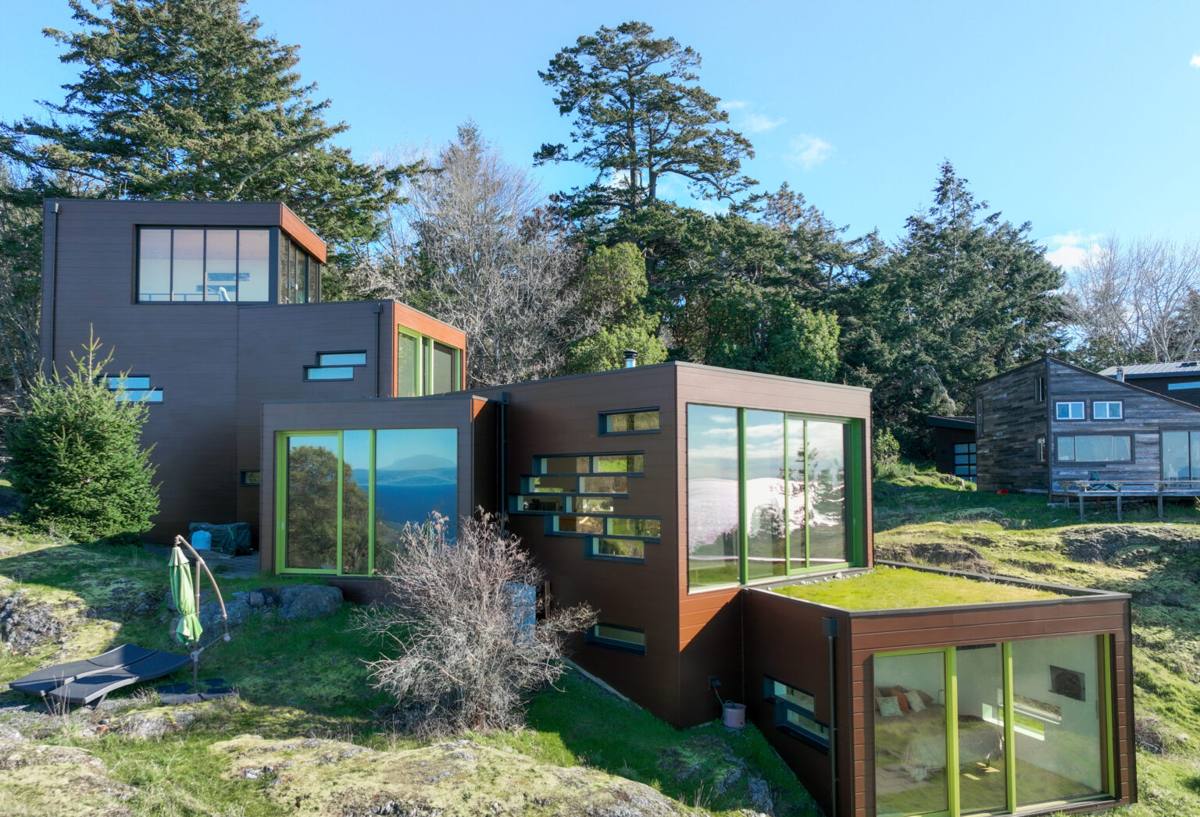
What Makes a New-Construction Window Install Different
Nail-fin vs. block-frame windows
New-construction windows almost always come with a nailing fin — a flange around the perimeter of the frame that gets fastened directly to the wall sheathing before siding goes on. This is different from a replacement window, which is sized to fit into an existing opening without disturbing the exterior wall covering. Because the fin becomes part of the water management system for the whole wall, it has to be integrated with the weather-resistive barrier (WRB) and flashing in a specific order. Get that order wrong and you've built a leak path into the wall that no amount of caulk will fix later.
Why it has to be right the first time
Once siding, trim, and interior finishes go on, the flashing behind a new-construction window is essentially inaccessible without tearing into finished surfaces. On a remodel you can sometimes catch a bad window install a few years in when a homeowner notices a stain. On new construction, a bad install can go unnoticed for a decade because everything is new and dry to start — the problems only show up once the first few hard, wind-driven rain seasons work water past a poorly lapped flashing detail.
What Snohomish's Climate Demands From Every Window Opening
Three things about this area's weather shape every decision we make on a new-construction window job:
- Salt air: Proximity to Puget Sound means airborne salt accelerates corrosion on hardware, fasteners, and lower-grade metal components. This matters most for hinges, locks, and any exposed screws or flashing metal.
- Driving rain: Storms off the water frequently push rain sideways, not just down. That means head flashing and side-jamb details have to handle water hitting the window at an angle, not just running off the top.
- Long moss season: Extended damp, shaded periods let moss and algae take hold on horizontal surfaces and north-facing walls. Anywhere water can pool or linger against a sill or flashing detail becomes a spot where moisture sits for weeks instead of hours, which speeds up wood rot and coating breakdown if the detail isn't sealed correctly.
None of this means Snohomish needs exotic materials or unusual techniques. It means the ordinary details — sill pans, flashing laps, sealant placement — have less room for error than they would in a drier climate, because any gap gets tested by weather more often and for longer stretches of the year.
Anatomy of a Correct Install: The Sequence That Keeps Water Out
A correct new-construction window install follows a specific shingle-style sequence so that every layer sheds water onto the layer below it, never behind it.
- Rough opening inspection: Confirm the opening is square, level, and sized correctly before the window ever shows up on site.
- Sill pan flashing: A sloped, sealed pan at the bottom of the opening so any water that gets past the window has a path back outside instead of into the framing.
- Jamb flashing: Side flashing tape applied over the sill pan legs, so water always moves down and out, never sideways into a seam.
- Window installation and fin fastening: Set to manufacturer specs, shimmed and fastened without racking the frame.
- Head flashing: Installed last, lapping over the top of the nailing fin so water running down the wall is directed over the window, not behind it.
- WRB integration: The house wrap or building paper is lapped over all flashing in the correct shingle order and taped or sealed at every penetration.
- Sealant placement: Backer rod and sealant used only where they belong — sealant is a backup to good flashing, never a substitute for it.
Skip a step, reverse a lap, or seal the wrong seam and the whole system stops working the way it's designed to, even though it may look identical from the outside.
Choosing the Right Frame Material for a Salt-Air, Wet Climate
Every frame material has trade-offs. In a coastal, wet climate like Snohomish's, corrosion resistance and moisture tolerance carry more weight than they might elsewhere.
| Frame Material | Salt Air / Corrosion Resistance | Moisture Handling | Maintenance |
|---|---|---|---|
| Vinyl | Very good — no metal corrosion in the frame itself | Good; won't rot, but hardware quality varies by manufacturer | Low; occasional cleaning |
| Fiberglass | Excellent; dimensionally stable in wet, salty air | Excellent; very low expansion/contraction | Low; holds paint and finishes well over time |
| Wood-clad | Good on the exterior clad face; interior wood needs protection | Requires correctly detailed cladding to keep moisture off the wood core | Moderate; clad exterior is low-maintenance, but any breach needs prompt attention |
| Aluminum | Fair; untreated aluminum can pit and corrode faster in salt air without a quality finish | Good structurally, but prone to condensation without thermal breaks | Moderate; finish quality determines long-term corrosion resistance |
We don't push one material on every job. We do steer homeowners away from bargain-grade aluminum or thin-gauge hardware near the water, not because any single brand is bad, but because thinner metals and lower-grade finishes simply have less margin against salt exposure over a 20-plus year lifespan.
Glass and Energy Performance for the Pacific Northwest
Snohomish doesn't see extreme heat or extreme cold, but it does see a lot of overcast, damp days and long stretches without direct sun. That changes which glazing numbers actually matter for comfort and energy use.
| Elevation / Use | Priority | Why |
|---|---|---|
| North-facing walls | Lower U-factor | These get little direct sun, so heat retention matters more than solar gain |
| South-facing walls | Balanced U-factor and SHGC | Capture some passive solar gain in winter without overheating in summer |
| Rooms with heavy glazing | Low-E coating tuned for the elevation | Reduces heat loss on cold, damp nights common in this climate |
Look for the NFRC label on any window being considered, and don't assume "ENERGY STAR certified" alone tells the whole story — the U-factor and Solar Heat Gain Coefficient (SHGC) numbers on that label are what actually predict comfort and energy performance for our climate zone, and they should be matched to where the window sits on the house, not applied as one blanket spec for the whole project.
Our New-Construction Window Process
- Plan review: We look at the build plans or existing framing to confirm rough openings, wall assembly, and WRB approach before ordering anything.
- Product selection: We walk through frame material, glazing, and hardware options based on the specific elevation and exposure of each opening.
- Scheduling with the builder or GC: Window install has to land at the right point in the framing sequence — too early and openings may shift, too late and the wall sits exposed to weather longer than it should.
- Flashing and installation: Installed to manufacturer instructions and the sequence described above, adapted to the specific wall assembly on your project.
- Exterior integration: Coordinating flashing and trim details with whoever is installing siding, so the window and siding systems shed water as one continuous assembly rather than two separate systems taped together.
- Final walkthrough: Checking operation, seals, and finish on every unit before we call the job done, and documenting warranty coverage for both the product and our labor.
Coordinating With Builders and Timelines on a New Build
New-construction window install rarely happens in isolation — it's one piece of a framing and dry-in schedule set by a builder or general contractor. Two things matter most in Snohomish specifically: getting windows in and flashed before an extended stretch of driving rain leaves the WRB exposed longer than it should be, and sequencing with Snohomish County or City of Everett inspections so the work is ready when the inspector is. A crew that's done this in the area knows how to build slack into the schedule for the wetter months rather than treating every week of the year the same.
Common Mistakes We See on Local Jobs
Most window failures we get called to look at trace back to a small number of repeat mistakes: sealant used in place of proper flashing, a reversed lap somewhere in the WRB integration, a sill pan that wasn't sloped so water sits instead of draining, or hardware and fasteners that weren't rated for a salt-air environment. Individually these look like minor shortcuts. Over years of driving rain and a long damp moss season, they're the difference between a window opening that stays dry and one that eventually stains the wall behind it.
A Homeowner's Checklist Before Work Begins
- Confirm the contractor is licensed, bonded, and insured in Washington
- Ask specifically how sill pan flashing and WRB integration will be sequenced
- Ask what frame material and hardware grade is recommended for a coastal, wet climate — and why
- Check the NFRC label on any window being quoted, not just the marketing name
- Ask how installation will be scheduled around the builder's framing timeline
- Get clear terms on what's covered by product warranty versus workmanship warranty
- Ask for the plan on coordinating flashing with the siding installer, if it's a different crew
Maintaining New-Construction Windows After Move-In
A correctly installed window still benefits from basic upkeep in this climate. Clear moss and algae buildup off sills and horizontal trim before it holds moisture against the frame, check that weep holes stay clear so water can drain out rather than pool, and do a visual check of exterior sealant joints once a year — sealant is a maintenance item everywhere, but it wears faster under near-constant coastal moisture. On homes with metal hardware or fasteners, an occasional check for early corrosion is worth the five minutes it takes, especially on windows facing the water directly.
If you're building new or adding on in Snohomish and want windows installed the way this climate actually requires, we're happy to walk the plans with you and put together a free, no-pressure estimate — just fill out the form below.