 Everett
 New-Construction Windows: What the Term Actually Means
"New-construction window" isn't a marketing term — it describes a specific type of window and a specific way it gets installed. These windows have a nailing fin (sometimes called a flange) around the perimeter of the frame. That fin gets fastened directly to the wall sheathing and integrated into the weather-resistive barrier before the siding goes on. It's different from a replacement or retrofit window, which gets set into an existing opening with the old exterior finish still in place around it.
In West Everett, most of the work we do under this heading falls into a few categories: new homes being built from the ground up, additions that require new rough openings, and full re-sides or major remodels where the siding is coming off anyway and it makes sense to switch to nail-fin windows instead of working around a retrofit frame. If your project has open sheathing or is about to, this is almost always the right window type to spec.
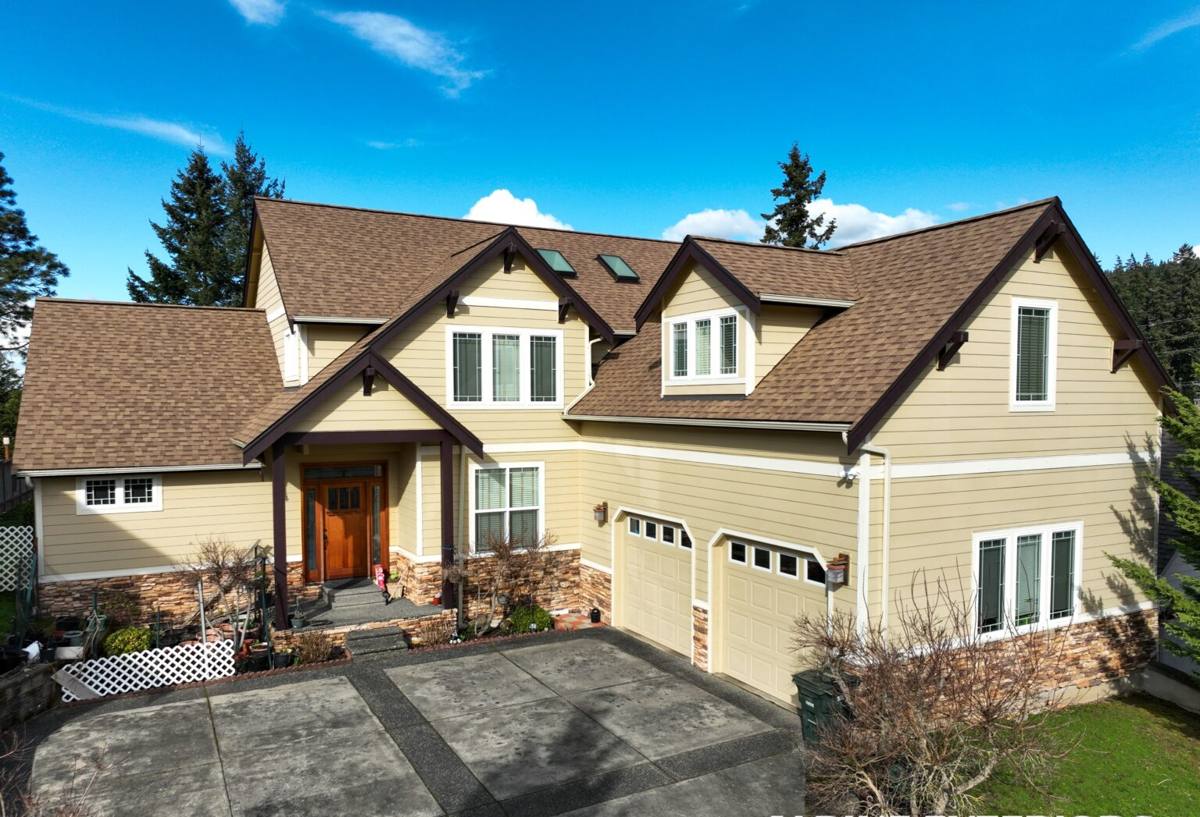
West Everett's Climate and What It Actually Demands
West Everett sits close enough to Puget Sound and Port Gardner Bay that homes here deal with a specific combination of conditions: salt-laden air off the water, wind-driven rain that hits walls at an angle instead of just falling straight down, and long stretches of damp, low-sun weather that keep moss and algae established on north- and west-facing surfaces for much of the year. None of that is unique to Everett, but it's more pronounced here than in drier parts of Snohomish County further from the water.
What that means for a window opening is simple: water is going to find any gap that exists, and it's going to find it repeatedly over the life of the house, not just once during a bad storm. A new-construction window installation gives us the chance to build a wall assembly that manages that water correctly from the start — sill pan, flashing sequence, and weather barrier integration all done before the siding ever goes up. Get it right at this stage and you're not fighting water intrusion problems ten or fifteen years later. Get it wrong and the siding will hide the mistake until there's already damage behind it.
Salt air and hardware
Coastal-adjacent salt air is harder on exposed fasteners, weep hardware, and lower-grade cladding than most homeowners expect. It doesn't ruin a window outright, but it accelerates corrosion on anything that isn't rated for it. We factor that into hardware and flashing tape selection on jobs in this part of Everett rather than defaulting to whatever's standard inland.
What a Correct New-Construction Window Installation Involves
A window that leaks in this climate almost never fails because the window itself was bad. It fails because of what happened — or didn't happen — around the rough opening before the window was even set. The sequence matters more than the product.
- Rough opening checked for square, level, and correct dimensions before the window ever gets test-fit
- Sill pan flashing installed to create a drainage plane at the bottom of the opening, sloped so any water that gets in has somewhere to go besides your wall cavity
- Weather-resistive barrier (house wrap) cut and integrated in the correct shingle-lap order — bottom, sides, then top — so water sheds over each layer instead of behind it
- Window set plumb, level, and square with proper shims at load-bearing points, not just wherever the fin happens to land
- Nailing fin fastened per the manufacturer's schedule — skipping fasteners or over-driving them both cause problems
- Flashing tape run over the fin on the sides and top, lapped correctly with the house wrap above it
- Perimeter gap between frame and framing insulated (not packed solid) and air-sealed on the interior side
- Sill and jambs backer-rodded and sealed on the exterior where the manufacturer calls for sealant, not just caulked over everything as a catch-all
Every one of those steps is inspectable before the wall gets closed up or the siding goes on — which is exactly why timing the trades correctly matters as much as the install itself.
Choosing the Right Window for This Site
Frame material is a real decision on a coastal-influenced site, not just a budget line. We'll talk through the trade-offs with you rather than push one product, but here's the honest comparison we give homeowners in this part of Everett:
| Frame Material | Coastal/Moisture Behavior | Maintenance | Typical Fit |
|---|---|---|---|
| Vinyl | Won't rot or corrode; performs well in damp climates | Low — occasional cleaning | Most new construction and additions; best value |
| Fiberglass | Very stable in temperature swings and damp air; minimal expansion/contraction | Low | Larger openings, higher-end builds, longer-term ownership |
| Wood-clad | Interior wood exposed; exterior cladding protects but any breach invites rot | Higher — cladding seams and any exposed wood need monitoring | Homes prioritizing a specific interior wood look |
| Aluminum | Conducts cold and can condense in our damp winters; needs a thermal break | Moderate | Specific architectural styles; less common in residential here |
We're not going to tell you a wood-clad window is a bad product — plenty of homeowners love the look and maintain them fine. What we will say plainly: in a salt-air, high-rain, long-moss-season environment like West Everett, that maintenance burden is real and ongoing, and we'll make sure you know what you're signing up for before you commit to it.
How the Job Actually Runs
On a new build or addition, we're one piece of a bigger sequence, so coordination matters as much as craftsmanship.
Before we're on site
We confirm rough opening sizes against the window order, review the wall assembly with the builder or you directly, and make sure the weather barrier and flashing materials on the job are compatible with the window manufacturer's installation instructions — mixing incompatible tapes and barriers is a common source of long-term leaks that has nothing to do with the window itself.
During installation
We follow the sequence above on every opening, and we don't move to the next window until the current one is flashed, shimmed, fastened, and checked. On multi-window jobs it's tempting to set everything first and flash later — we don't do that, because it's exactly how gaps get missed.
Before siding goes on
This is the last point where every flashing detail is still visible and correctable. We'd rather catch something here than have it hidden behind siding for the next twenty years.
Common Mistakes We See on New-Construction Window Jobs
Most callbacks we get on other contractors' new-construction window work trace back to a short list of repeat issues: no sill pan or a flat (unsloped) sill pan, house wrap lapped in the wrong order at the head of the window, fastener schedules skipped to save time, sealant used as a substitute for proper flashing instead of a supplement to it, and window openings that were never actually squared before the window was set. Every one of those is avoidable, and none of them show up as a problem on day one — they show up two, five, or ten winters later as staining, soft trim, or a musty smell near the window that nobody can quite explain.
Why a Crew That Already Works West Everett Matters
West Everett's exposure to wind-driven rain off the water and its longer moss season aren't things you'd necessarily plan for if your installation experience is mostly from drier, more sheltered parts of Snohomish County. A crew that regularly works this specific area already knows to spec flashing tape and sealant rated for the conditions, already understands how wind direction off the Sound affects which elevations take the worst weather, and already has a working relationship with the inspection expectations in Everett's permitting process. That's not a sales pitch — it's the difference between a crew guessing at what "should" work here and one that's watched what actually holds up.
After Installation: What to Expect
A correctly installed new-construction window shouldn't need attention for years. What's worth watching, especially given the local climate, is exterior sealant joints (they weather and eventually need renewing, typically every 10–15 years depending on exposure) and keeping moss and organic debris from building up against sills and trim, since trapped moisture against any wood trim components is what eventually causes problems — not the window itself.
A Practical Checklist Before You Hire
- Ask whether sill pan flashing is standard on every opening, not an upsell
- Confirm the flashing tape and house wrap being used are compatible with each other and with your window manufacturer's instructions
- Ask to see the fastening schedule they follow for nailing fins
- Ask how they sequence window installation against siding and house wrap work
- Get the warranty terms in writing — both the manufacturer's product warranty and the installer's workmanship warranty
If you're planning a new build, addition, or full re-side in West Everett and want windows installed correctly the first time, we're happy to walk the site, look at your plans, and give you a straightforward, no-pressure estimate. There's a form below to get that started.