 Everett
 Snohomish's Inland Climate Still Punishes Siding
Snohomish sits back from the open water of Port Gardner Bay, tucked into the Snohomish River valley a few miles inland from Everett. That distance changes the climate story a little, but it doesn't let a home's siding off easy. Marine air still pushes up the valley off Puget Sound, carrying enough salt to matter over the years, and the river bottom itself adds its own humidity — fog that settles into low-lying yards, dew that lingers on north walls, and a growing season that keeps trees and shrubs pressed close to a lot of houses here. Add Snohomish County's long stretch of driving rain each fall and winter, and a moss season that can run eight months or more on shaded siding, and you've got a climate that's genuinely hard on exterior materials, just in a slightly different way than waterfront Everett.
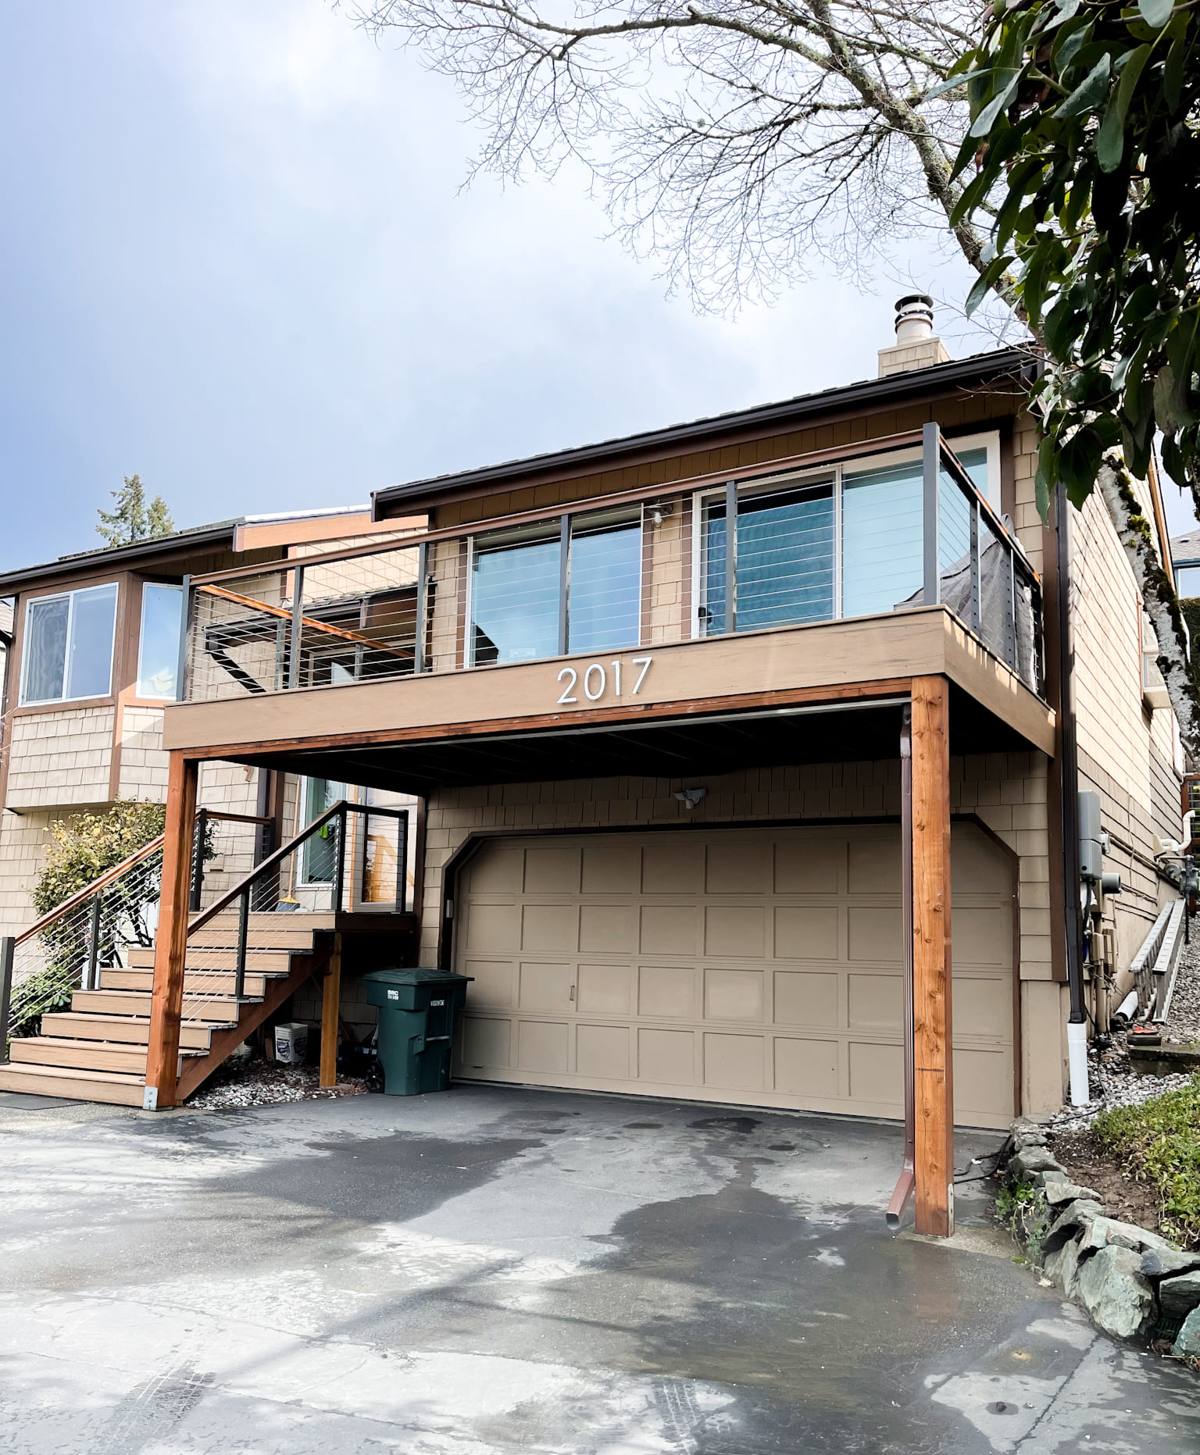
A lot of the housing stock in and around Snohomish is older — established neighborhoods with mature trees, deep eaves, and additions and re-sides layered on over decades. That's part of what gives the area its character, but it also means a fair number of homes are carrying whatever siding decision someone made twenty or thirty years ago, and that decision is now due for a rethink. We install James Hardie fiber cement exclusively, and this page is about what that actually means for a Snohomish home specifically: what the climate does to siding here, what a correct Hardie installation involves, and how our process works when we take on a project in this area.
Why James Hardie Fiber Cement Is Built for This
Fiber cement isn't a fad material — it's cement, sand, and cellulose fiber engineered into a board that doesn't rot, doesn't feed insects, and doesn't burn. That's a meaningfully different starting point than wood-based or vinyl products, and it's why we standardized on it rather than offering a menu of options. But not all fiber cement is installed or engineered the same way, which is where the specifics matter.
HZ5 Climate Engineering
James Hardie makes region-specific formulations under its HZ line, and for the Pacific Northwest we install the HZ5 product, engineered for colder, wetter climate zones rather than the general-purpose version sold in drier parts of the country. The difference isn't cosmetic — it's in how the board is formulated to handle repeated moisture cycling and the freeze-thaw swings this region sees in a bad winter. A board engineered for a dry southwestern climate and one engineered for a wet Pacific Northwest valley are not interchangeable, even if they look identical on a sample chip.
Non-Combustible Core
Fiber cement doesn't support combustion the way wood-based siding products do. That's less about wildfire exposure in a river-valley town like Snohomish and more about everyday fire safety — grill flare-ups, electrical faults, neighboring structure fires — situations where a non-combustible exterior simply behaves differently than one that can ignite and spread flame along a wall.
ColorPlus Factory Finish
Most Hardie siding we install carries a factory-applied ColorPlus finish rather than field paint. It's baked on under controlled conditions before the board ever reaches the jobsite, which matters in a climate where field-applied paint has to fight rain interruptions, humidity, and inconsistent drying windows to cure properly. A factory finish sidesteps most of that variability and holds color longer than a coat applied outdoors in western Washington weather.
What a Correct James Hardie Installation Involves
Hardie siding is only as good as the installation behind it. The board itself is engineered well; the failures we get called out to fix almost always trace back to how it was put on, not the material itself. A correct install has several layers working together, and skipping any one of them shortens the life of the whole system.
Weather-Resistive Barrier First
Before any siding goes up, the wall needs a properly lapped weather-resistive barrier and correctly integrated window and door flashing. This is the layer that actually keeps bulk water out of the wall assembly — the siding sheds most of the rain, but the barrier behind it is what protects the sheathing and framing from whatever gets past the surface, which in a climate with sustained driving rain is not a hypothetical.
Fastening and Clearances
Hardie specifies exact fastener types, spacing, and placement, along with minimum clearances from grade, roofing, and decking. Those clearance numbers exist specifically to keep the bottom edge of the siding from sitting in standing water or splashback, which is one of the most common failure points we see on homes with shaded, damp foundation lines.
Joints, Caulking, and Butt Seams
Every horizontal butt joint and vertical seam is a potential water entry point if it's not treated correctly — properly caulked, back-primed on cut edges, or engineered with a factory joint system. On a home under heavy tree cover, where a wall may stay damp for days after a storm, a sloppy joint is where moisture finds its way in first.
| Install Step | Why It Matters Here | Common Shortcut We Correct |
|---|---|---|
| Weather-resistive barrier & flashing | Backs up the siding against sustained driving rain | Barrier stapled but not properly lapped or sealed at penetrations |
| Fastener spacing & type | Keeps boards secure through wind and moisture-driven expansion cycles | Wrong fastener length or spacing stretched to save material |
| Grade & roof-line clearance | Keeps the board's bottom edge out of splashback and standing moisture | Siding installed too close to grade, decking, or roofing |
| Cut-edge sealing | Raw cut edges absorb water faster than the factory-finished face | Field cuts left unsealed or unpainted |
| Joint & seam treatment | Prevents water intrusion at butt joints under prolonged wet weather | Caulk used as the only defense instead of proper flashing detail |
Common Installation Shortcuts We See in This Area
Because Snohomish has a mix of older homes and infill remodels, we see a wide range of prior work when we're called out to look at failing siding. The pattern that shows up most often isn't a defective product — it's an installation that skipped one of the steps above to save time or material, and the climate here is unforgiving of that shortcut in a way a drier region might not expose for years. Boards nailed too close to grade rot from the bottom up. Unsealed cut edges wick moisture at every trim line. Missing or poorly lapped weather barriers let bulk water reach the sheathing behind siding that still looks fine from the curb. None of these problems announce themselves right away — they show up as soft trim, bubbling paint, or a musty smell near an exterior wall, usually a few years after the shortcut was taken.
Our Process, Start to Finish
- On-site assessment: we walk the exterior, check the current siding and any moisture damage, and look at wall orientation, tree cover, and drainage before recommending anything.
- Tear-off and sheathing check: once the old siding is off, we inspect the sheathing underneath for rot or damage that needs to be addressed before new material goes up — this is often where hidden problems from a prior install surface.
- Weather barrier and flashing: a new, properly lapped weather-resistive barrier and correctly integrated flashing at every window, door, and penetration.
- James Hardie HZ5 installation: boards installed to Hardie's fastening, clearance, and joint specifications, not a generic "close enough" standard.
- Trim, caulking, and detail work: the finish details that determine whether water sheds cleanly off the wall or finds a way in.
- Final walkthrough: we go over the finished exterior with you before calling the job done.
Living With Hardie Siding in a Wet, Mossy Climate
James Hardie siding is low-maintenance compared to wood or engineered wood products, but "low-maintenance" doesn't mean "no maintenance," especially on a shaded lot in Snohomish. A little seasonal attention keeps a correctly installed system looking and performing the way it's supposed to for decades.
- Rinse siding down once or twice a year with a garden hose and soft-bristle brush — avoid a pressure washer, which can force water behind boards and joints
- Keep gutters clean and downspouts directed away from the foundation so runoff isn't sheeting down the wall
- Trim back branches and shrubs that hold siding in constant shade and slow drying after rain
- Check caulk lines at trim and joints annually and re-caulk if you see cracking or gaps
- Address moss or algae on north-facing or heavily shaded walls promptly with a gentle wash rather than letting it establish
- Watch for soft spots, bubbling, or discoloration near the bottom edge of the siding, which can signal a clearance or drainage issue worth a look
Cost Factors for a Snohomish Hardie Project
Every home is different, and we don't publish blanket per-square-foot numbers because they're rarely honest once you factor in a specific home's condition. But the variables that actually move the price are consistent from project to project.
| Factor | Why It Affects Cost |
|---|---|
| Tear-off and disposal of existing siding | Removing and hauling old material adds labor before new siding even starts |
| Sheathing or framing repair | Hidden moisture damage found during tear-off has to be addressed before re-siding |
| Home size and wall complexity | More corners, gables, and dormers mean more cutting, flashing, and labor time |
| Product line and profile | HardiePlank lap, HardiePanel, and HardieShingle carry different material and install costs |
| Trim and accent detail | Custom trim packages and accent panels add material and finish labor |
| Access and site conditions | Steep lots, mature landscaping, or tight setbacks can slow staging and installation |
The only way to get a real number is a walkthrough of your specific house — which is what we'd rather do than guess at a range that doesn't mean much until someone's actually looked at your walls.
Why a Crew That Already Works Snohomish Matters
Siding installation isn't a one-size-fits-all process, and a crew that's worked houses throughout Snohomish and the wider Everett area knows what to expect before the tear-off even starts: which wall orientations tend to hide moisture damage, how the local permit process works, and what this county's driving rain and moss season actually do to a poorly detailed install over time. That local pattern-recognition is worth something you can't get from a crew that's never worked the area — it means fewer surprises mid-project and a finished install that's actually built for what Snohomish weather is going to throw at it, not a generic install done the same way regardless of climate.
If you're weighing a re-side or dealing with siding that's already showing its age, we're happy to come take a look and put together a free, no-pressure estimate for your Snohomish home.