 Everett
 Building New in Lynnwood Means One Real Shot at the Window Install
When you're building new, the windows go in once. There's no siding to strip back later and no drywall hiding a bad flashing job you can quietly fix in five years. Whatever goes into the rough opening now — the flashing sequence, the sealant, the shimming, the tie-in to the weather-resistive barrier — is what that wall does for the next several decades. In Lynnwood, that first shot has to account for a specific set of conditions: salt-laden air moving inland off Puget Sound, wind-driven rain that doesn't fall straight down, and a moss season that runs longer here than it does on the dry side of the state. We're an Everett-based siding and exterior crew that already works new-construction jobs across Snohomish County, and window installation is one of the pieces we take as seriously as the siding itself, because the two systems have to work together.
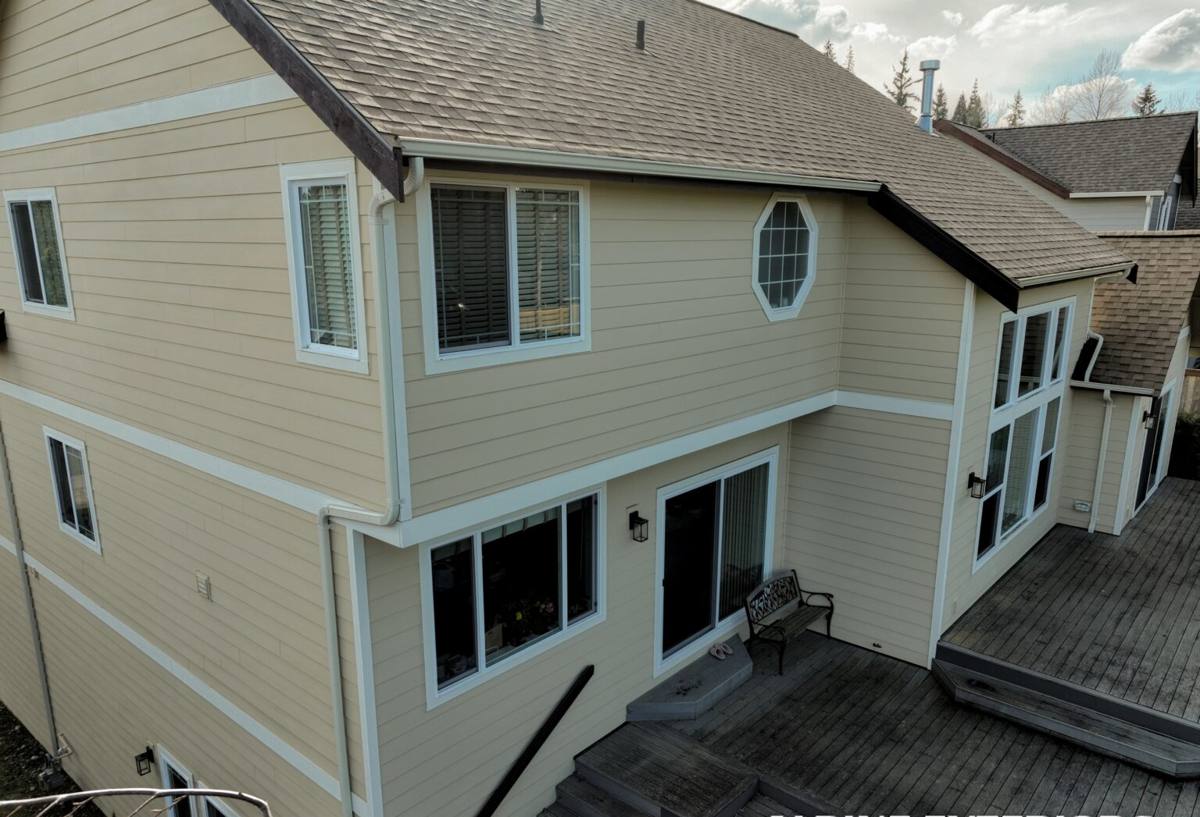
What the Local Climate Actually Asks of a Window Install
It's easy to think of a window as a manufactured product that performs the same everywhere. It doesn't. How it's installed determines how it holds up against this specific climate, and Lynnwood's climate has a few characteristics worth planning around.
Salt Air and Hardware
Proximity to the Sound means airborne salt finds its way onto exposed metal — fasteners, hinges, cranks on casement units, and uncoated flashing. Over time it accelerates corrosion on anything not rated for coastal exposure. This is a reason to spec corrosion-resistant fasteners and flashing at the opening, not just a good window.
Driving Rain and the Rough Opening
Storms here regularly push rain sideways rather than straight down, which means water pressure at a window opening isn't just from above — it's from the side and sometimes from below on a driving gust. A flashing detail that only sheds water downward isn't enough. The sill pan, the side flashing laps, and the head flashing all have to work together as a system.
Moss Season and Sill Drainage
Long stretches of damp, mild weather each year are ideal conditions for moss and algae to take hold anywhere water sits instead of draining. Sills, exterior trim, and the base of a window opening are common spots. Correct slope on the sill pan and a clear drainage path out of the rough opening keep water moving instead of pooling.
New-Construction Windows Are Installed Differently Than Replacements
This distinction matters more than most homeowners realize, and it's worth understanding before a builder or contractor starts talking about window scope on your Lynnwood project.
| Factor | New-Construction Window | Replacement Window |
|---|---|---|
| Frame type | Nailing-fin frame, fastened to sheathing | Pocket or block-frame, fits into existing opening |
| Access to wall assembly | Full access — WRB, sheathing, framing all exposed | Limited — existing siding and trim stay in place |
| Flashing method | Full sill pan, side and head flashing integrated with WRB | Sealant-dependent, working around finished exterior |
| Best suited for | New builds, additions, full siding tear-offs | Existing homes with sound framing and siding |
A new-construction install gives us the advantage of building the water management system correctly from the framing out, rather than sealing around an existing wall. On new builds, we treat that as an opportunity, not just a formality.
What a Correct Installation Actually Involves
There's a specific order of operations that keeps water out of a wall assembly, and skipping steps or doing them out of sequence is how leaks start — often years after the framing crew and the original installer are long gone.
- Rough opening checked for square, level, and correct size before the window arrives
- Sloped sill pan flashing installed first, so any water that reaches the sill drains back out, not into the wall
- Weather-resistive barrier cut and integrated with the flashing in the correct shingle-lap order — always water flowing over the layer below it, never under
- Window set, shimmed level and plumb, and fastened through the nailing fin per the manufacturer's schedule
- Side flashing lapped over the sill pan and under the head flashing
- Head flashing installed last, lapped under the WRB above it
- Interior and exterior sealant placed only where the manufacturer specifies — sealing the wrong gap can trap moisture instead of stopping it
- Insulation placed around the frame without overpacking, which can bow the frame and affect operation
Every one of these steps is inspectable at rough-in, which is exactly when we want a builder, homeowner, or inspector looking at the work — before siding covers it.
Coordinating With Framers, Siding, and the Weather Barrier
On a new build, window installation doesn't happen in isolation. Rough openings have to match the ordered window sizes, which means catching framing discrepancies before the windows show up on site rather than after. The window's flashing also has to integrate cleanly with whatever siding is going over it — the WRB laps, the flashing tape, and the eventual siding starter details all need to line up as one continuous water plane. Because we install both the windows and the siding on many of these jobs, that handoff doesn't get lost between two separate trades who never talk to each other. It's one crew responsible for the whole exterior envelope working as a system.
Choosing Frame Material and Glass for This Climate
Frame material and glass package both affect how a window performs against salt air, rain, and temperature swings between a cold snap and a mild, wet stretch.
Vinyl and Fiberglass Frames
Vinyl is the common, cost-effective choice for new construction and holds up well against coastal air when properly installed. Fiberglass costs more but resists expansion and contraction better across temperature swings and holds paint or factory finish longer if a homeowner wants a non-white exterior color. Either can be the right call depending on budget and the look of the home — we'll walk through the honest trade-offs rather than push one product across the board.
Glass Packages
Low-E coated, argon-filled dual-pane glass is the standard baseline for this region's building codes and climate, cutting heat loss and reducing condensation risk on cold, damp mornings. Homes on more exposed lots or with larger window walls sometimes benefit from a higher-performance glass package with a lower U-factor. We'll size the glass package to the specific elevation and exposure of the home rather than defaulting to one spec for every opening.
Our Process on Lynnwood New-Construction Jobs
The sequence below is how we typically run a new-construction window scope, whether we're brought in by a builder, a general contractor, or a homeowner managing their own build.
- Review the window schedule and rough opening sizes against the plans before ordering
- Confirm framing dimensions on site once the shell is up, flagging any discrepancies early
- Install sill pan flashing, set and fasten each window, and complete side and head flashing
- Integrate flashing with the WRB in the correct lap sequence
- Photograph flashing details at each opening before siding covers them, for the homeowner's and builder's records
- Coordinate timing with the siding install so there's no exposed gap in the water barrier between trades
- Final walkthrough on operation, hardware, and interior trim-out readiness
Why a Crew That Already Works Lynnwood Matters
Window and siding details that work fine in a drier climate can fail here within a few wet seasons if they're not adapted to local conditions. A crew that already works new-construction jobs around Lynnwood and greater Snohomish County has already seen how this area's rain patterns and salt exposure play out on real installs, not just in a manufacturer's install manual written for a national market. That familiarity also extends to working with local building departments and the inspection process for new construction — knowing what an inspector here is going to want to see at rough-in, and having the flashing photos and documentation ready for it, saves a build real time.
Cost Factors on a New-Construction Window Job
Every new-construction window scope is priced around a handful of variables. There's no honest flat number without seeing the plans, but these are the factors that move the estimate.
| Factor | Why It Matters |
|---|---|
| Number and size of openings | More openings and larger units mean more material and labor hours |
| Frame material (vinyl vs. fiberglass) | Fiberglass carries a higher material cost but different longevity and finish options |
| Glass package | Higher-performance Low-E and multi-pane glass costs more per unit |
| Wall height and access | Second-story or hard-to-reach openings add scaffolding or lift time |
| Coordination with other trades | Tight scheduling with framers and siding crews can reduce redundant site visits |
We'd rather walk through these factors against your actual plans than quote a number that doesn't hold up once the framing is in front of us.
If you're building in Lynnwood and want windows installed as part of a properly sequenced exterior envelope, we're happy to take a look at your plans and rough openings and put together a free, no-pressure estimate. There's a form below to get that started.