 Everett
 New-Construction Windows in North Everett
North Everett sits close enough to Port Gardner Bay and the Sound that every exterior assembly on a new build has to answer to salt-laden air, wind-driven rain, and a moss season that can run eight months out of the year. Windows are one of the highest-risk penetrations in that assembly. A siding job, a roof, even a deck can tolerate small installation errors for years before they show. A window that's flashed wrong starts letting water into the wall cavity almost immediately, and by the time it shows up as a stain on the drywall, the sheathing and framing behind it may already be compromised. New-construction window work is where we get the most control over that outcome, because we're installing into open framing before siding goes on, not fighting around existing trim and finish work later.
This page is specifically about new-construction window installation for homes being built or framed in North Everett — the windows going into a new build, an addition, or a full teardown-rebuild, set with a nailing fin directly to the sheathing and integrated into the weather-resistive barrier before the exterior finish goes over it. If your project is a window swap in an existing wall, that's a different scope with different flashing logic — ask us and we'll point you to the right approach.
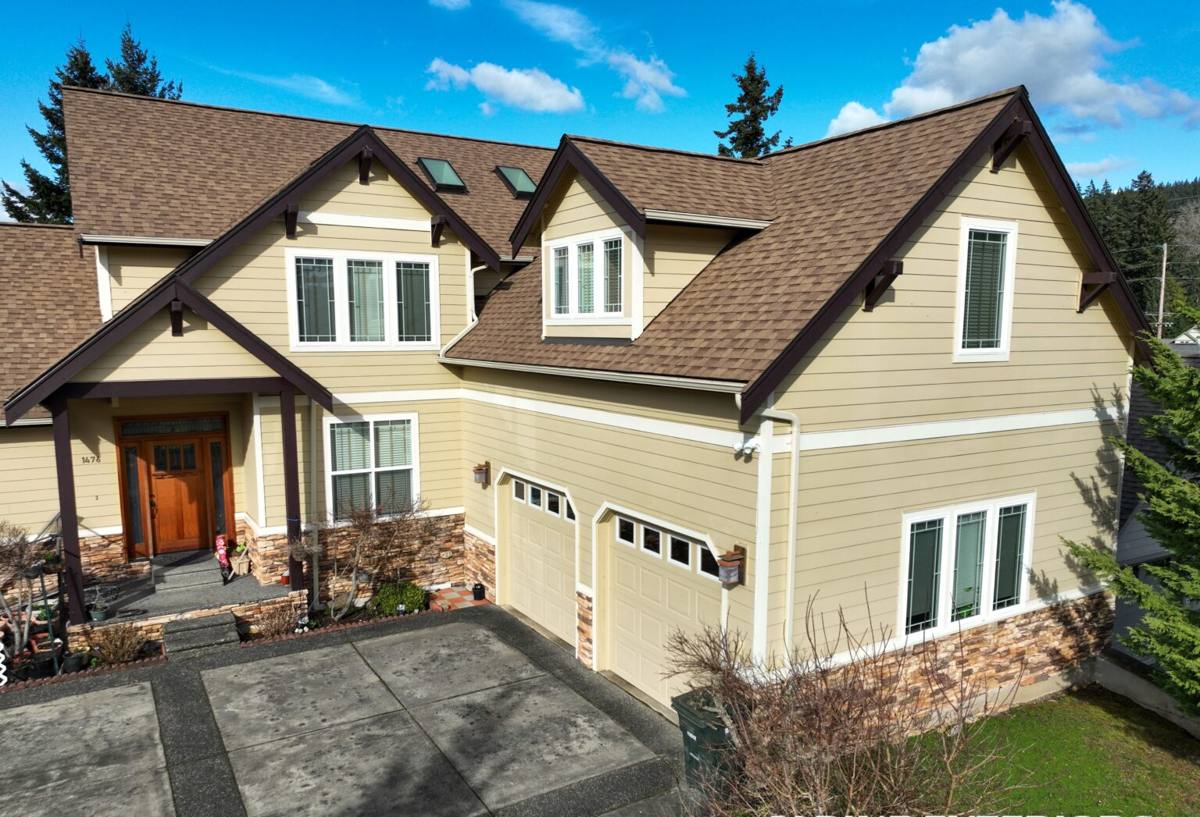
Why North Everett's Climate Changes the Approach
Everett sits in the marine climate zone, and North Everett's exposure to the Bay means wind-driven rain isn't a once-a-year event — it's a normal winter Tuesday. Rain here doesn't just fall, it gets pushed sideways against west- and north-facing walls, which is exactly where water finds any gap in a window's flashing and drives it inward rather than letting it run off. Add the salt content in the air near the water, and you've got a second problem: fasteners, flashing tape adhesives, and hardware that aren't rated for it will corrode or fail years before they should.
Then there's moss. Snohomish County's long wet season keeps north and shaded elevations damp for months at a stretch, and moss and algae will colonize any surface that stays damp — including window sills, trim, and the caulk lines around a poorly detailed opening. Moss holding moisture against a sill or a trim board accelerates rot underneath it, often invisibly, until the wood is soft. None of this is exotic knowledge to anyone who's built here for a while, but it does mean a window install detailed for a drier climate — less sill pan, lighter flashing, standard fasteners — will underperform in North Everett specifically.
What This Means in Practice
- Sill pans on every opening, not just the ones facing prevailing weather — wind off the Bay doesn't always come from the same direction.
- Corrosion-resistant fasteners and flashing components rated for coastal exposure, not just standard-grade hardware.
- Full WRB integration with proper shingle-lap sequencing, so water is directed out and down at every layer, not just sealed and hoped-shut.
- Frame and sill materials and finishes chosen to resist sustained dampness and moss colonization on shaded or north-facing elevations.
What a Correct New-Construction Window Install Involves
New-construction windows use a nailing fin — a flange around the perimeter of the frame that gets fastened directly to the wall sheathing before siding covers it. Done right, the sequence looks like this:
- Rough opening check. Confirm the opening is square, plumb, and sized correctly before the window ever touches it — a slightly out-of-square opening is the root cause of a huge share of window callbacks.
- Sill pan flashing. A sloped, sealed pan under the sill so any water that gets past the window sheds outward instead of pooling on the sheathing.
- Jamb and head flashing integrated with the WRB. Each layer laps over the one below it — house wrap over head flashing, head flashing over jamb flashing, jamb flashing over the pan — so gravity always has a path out.
- Setting the window and fastening the nailing fin per manufacturer spec, checking reveal and operation before it's locked in.
- Sealing and backer rod at the interior and exterior per the manufacturer's installation instructions — not just a bead of caulk around the outside.
- Final check for square, level, and smooth operation before the opening gets covered by siding or trim.
Every one of those steps is inspectable while the wall is still open. That's the real advantage of doing this work at the new-construction stage instead of retrofitting later — mistakes get caught before they're buried behind finish siding.
Choosing Frame Material and Glass for This Climate
Frame material and glass package matter more here than in a drier, milder region, because the assembly has to handle sustained moisture exposure and keep performing over decades near salt air. There's no single right answer for every project — budget, builder specs, and the home's design all factor in — but here's how the common options stack up for North Everett conditions:
| Frame Material | Moisture/Salt Air Behavior | Maintenance | Typical Fit |
|---|---|---|---|
| Vinyl | Doesn't corrode or rot; performs well near salt air | Low — occasional cleaning | Budget-conscious new builds, most residential specs |
| Fiberglass | Very stable dimensionally, excellent moisture resistance | Low | Higher-end builds, larger openings, better long-term stability |
| Wood / wood-clad | Needs a well-sealed exterior cladding to keep moisture off bare wood | Higher — finish maintenance on any exposed wood | Design-driven projects where the look is a priority |
| Aluminum | Conducts cold and can corrode without a marine-grade finish | Moderate | Best reserved for specific design or commercial-style applications |
For glass, insulated dual-pane units with a low-E coating and argon fill are standard practice for this climate zone and meet current Washington State Energy Code targets for most residential builds. The bigger performance factor is usually installation quality — an average window installed with a correct flashing sequence will outperform a premium window installed sloppily, every time.
Our Process, From Framing to Final Trim
On a new build, we coordinate directly with the general contractor or framer so windows go in at the right point in the schedule — after the WRB is up and rough openings are framed and checked, before siding starts. We walk every opening before setting glass, flag anything out of square or mis-sized back to the framer rather than forcing a window to fit, and document the flashing sequence as we go so there's a clear record of what's behind the siding if it's ever needed. Once windows are set, we do a final check on operation, seal, and reveal before signing off, and we stay in the loop with the trim and siding crews so the flashing details tie in cleanly with whatever exterior finish is going over them.
New Construction vs. Replacement Windows
It's worth being clear about the distinction, since the terms get used loosely. New-construction windows have a nailing fin and get installed into an open wall before exterior finish — that's this page. Replacement or retrofit windows are installed into an existing, already-sided wall, usually without disturbing the exterior finish, and use a different flashing and sealing approach built around working within that constraint. If your project involves swapping windows in a home that's already finished, that's retrofit work — tell us up front so we scope it correctly rather than treating it like new construction.
Permitting and Code in Snohomish County
New-construction window work on a permitted build falls under the same inspection process as the rest of the shell — energy code compliance (U-factor and solar heat gain targets for our climate zone), egress sizing on bedroom windows, and wind load ratings appropriate for the site's exposure. Snohomish County and City of Everett permitting each have their own inspection checkpoints, and window rough-in and flashing is typically part of what gets checked before the wall is closed up. We work within whatever permit and inspection sequence the builder or homeowner already has in place rather than working around it.
Mistakes We See on New-Construction Window Jobs
- Skipping or shortcutting the sill pan because "the window has its own weep system."
- Flashing layers lapped backward, so water gets funneled into the wall instead of out of it.
- Standard fasteners used on a job close enough to the water that they'll corrode within a few years.
- Caulk used as the primary water seal instead of proper flashing sequence — caulk fails over time; flashing shouldn't rely on it as the only line of defense.
- Rough openings forced to fit an oversized or undersized window rather than corrected before the window is set.
- No documentation of what flashing was done before the wall gets closed up, leaving no record if a problem shows up years later.
Why Hire a Crew That Already Works North Everett
Window flashing details that work fine in a drier inland climate can underperform here, and a crew that hasn't worked this specific stretch of Snohomish County may not think to spec corrosion-resistant fasteners or full sill pans on every opening as a default rather than an upgrade. We build for this weather because it's the weather we work in — the driving rain off the Bay, the salt air, and the long moss season aren't edge cases to us, they're the baseline. That matters most at the framing stage, when the choices being made are the ones nobody will see again once siding goes up.
If you're framing a new build or addition in North Everett and want windows installed right the first time, we're happy to walk the plans or the openings with you and give you a straightforward, no-pressure estimate — just fill out the form below.