 Everett
 New-Construction Windows for Pinehurst Homes
Pinehurst sits inside Everett's broader mix of established neighborhoods and infill construction, which means new-construction window work here covers everything from a full-lot rebuild to a room addition that's finally getting real, code-compliant windows instead of a patched-in retrofit. New-construction windows are different from replacement windows in one key way: they install with a nailing flange directly into the framed rough opening, and the entire assembly ties into the house wrap, flashing, and siding as one weatherproofing system. That distinction matters a lot in Everett, where Snohomish County's building envelope has to handle salt-laden air off Puget Sound, long stretches of driving rain, and moss and mildew pressure that never really lets up for months at a time.
Get the flashing sequence wrong on a new-construction window and you won't see the problem for a year or two — then it shows up as rot in the sheathing, staining on interior drywall, or a window that's suddenly hard to operate because the frame has swelled. We install a lot of these units in and around Pinehurst, and the work here is less about the window itself and more about everything happening around it: the opening prep, the flashing layers, and how the window ties into whatever siding is going over it.
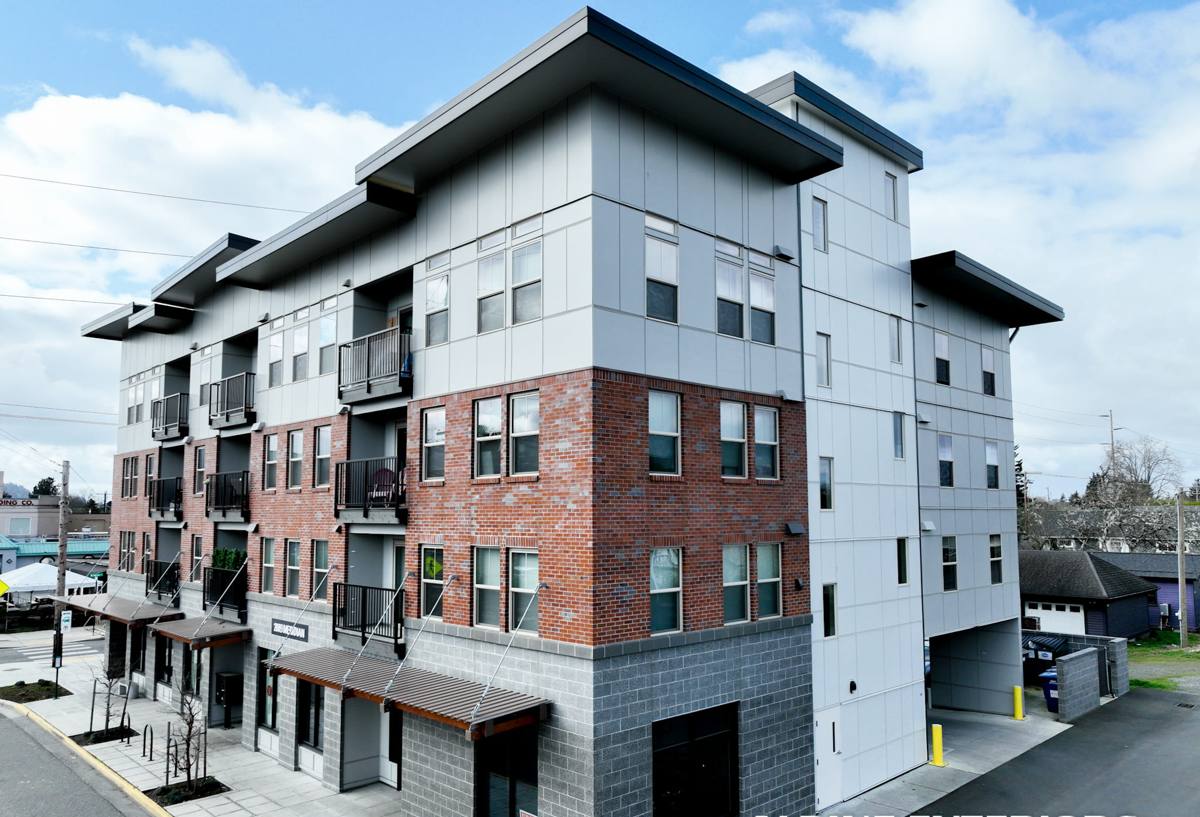
What Pinehurst's Climate Actually Does to a Window Opening
Everett doesn't get hurricane-force weather, but it gets something arguably harder on a building envelope: sustained, low-intensity moisture exposure for most of the year. A few specific factors drive how we detail window openings in this area:
- Salt air: Proximity to Puget Sound means airborne salt accelerates corrosion on exposed fasteners, hardware, and lower-grade metal flashing. We spec corrosion-resistant fasteners and flashing at every opening, not just on homes closest to the water.
- Driving rain: Wind-driven rain doesn't fall straight down — it gets pushed sideways into wall assemblies, which means head flashing and sill pans have to actually shed water outward, not just sit there decoratively.
- Long moss and mildew season: Extended damp periods with limited direct sun let moss, algae, and mildew establish on siding, trim, and window sills. Once organic growth gets a foothold near a window opening, it holds moisture against the wood or trim longer, which speeds up rot if the flashing underneath isn't sound.
- Temperature swings between seasons: Everett's shoulder seasons bring enough temperature and humidity swing that sealants and gaskets need to stay flexible year-round, not just in summer.
None of this means Pinehurst needs exotic materials. It means the installation details — the ones nobody sees once the siding goes back on — have to be right the first time.
Why This Matters More on New Construction Than Retrofits
On a retrofit or pocket-replacement job, the existing siding and trim usually stay in place, which limits how much of the opening you can actually inspect and correct. New-construction installs are the opposite: the wall is open, which is exactly the moment to get the water management layers right before they're buried behind siding for the next few decades. It's also the one point in a build where a mistake is cheap to fix — after the siding's on, the same mistake costs multiples more to correct.
What a Correct New-Construction Window Install Involves
A properly installed new-construction window is really a sequence of overlapping layers, each one designed to shed water down and out before it can get behind the wall assembly. Skipping or misordering any one of these is where problems start.
- Rough opening check: Confirm the opening is square, plumb, and sized correctly with proper shim gaps — a window forced into an out-of-square opening will bind, leak at the corners, or both.
- Sill pan flashing: A sloped, sealed pan at the bottom of the opening so any water that does get past the window has a path back outside instead of pooling on the sill.
- Jamb and head flashing integration: Side and top flashing tape integrated with the house wrap in the correct shingle-lap order (bottom-up) so water is always directed onto the layer below it, never behind it.
- Window setting and fastening: Nailing fin fastened per manufacturer spec, window leveled and squared in the opening, shims placed to prevent frame distortion.
- Sealant at the right layers only: Sealed on the sides and top, with the bottom weep path left open — a fully sealed sill is one of the most common mistakes we correct, because it traps any water that gets in instead of letting it drain.
- Interior air sealing and insulation: Low-expansion foam or backer rod at the gap between frame and framing to control drafts without bowing the frame.
- Exterior trim and siding tie-in: Trim and siding integrated over the flashing layers, maintaining the shed-water-down sequence all the way to the finished exterior.
Common Mistakes We See (and Correct) in This Area
| Mistake | Why It's a Problem in Everett's Climate |
|---|---|
| Sill fully caulked with no weep path | Traps water from driving rain against the frame instead of draining it, accelerating rot |
| House wrap taped in the wrong lap order | Directs water behind the flashing instead of over it — invisible until interior damage shows up |
| Standard fasteners near the shoreline | Salt air corrodes them faster, leading to loose flashing and hardware failure |
| No sill pan, just flashing tape on wood | Tape alone doesn't slope water out; wood sill can absorb moisture over time |
| Window shimmed out of square to fit siding lines | Distorts the frame, causing hardware binding and gaps that let in wind-driven rain |
Choosing the Right Window for a Pinehurst Build
Frame material and glazing matter, but in this climate the installation detailing described above outweighs brand or material choice by a wide margin — a premium window installed with a bad flashing sequence will fail before a mid-grade window installed correctly. That said, a few practical factors are worth weighing for new construction in this area:
- Frame material: Vinyl, fiberglass, and clad-wood all perform fine here when detailed correctly; the deciding factor is usually budget, appearance, and how the frame material handles long-term UV and moisture exposure without warping.
- Glazing package: Double-pane with a low-E coating and argon fill is standard for this region's mix of cool, wet winters and mild summers; it isn't about extreme heat or cold, it's about consistent comfort and condensation control on glass.
- Corrosion-resistant hardware: Locks, hinges, and cranks matter more here than in drier inland climates — cheaper hardware corrodes and sticks faster under sustained humidity and salt exposure.
- Weep system design: Look for windows with clear, unobstructed weep holes in the sill — some designs make it easier to keep these clear of debris and moss buildup than others.
Our Process for Pinehurst New-Construction Jobs
We treat every opening the same way regardless of how many windows are on the job — a single addition or a full new build gets the same sequence.
1. Site Walk and Opening Review
Before any window arrives, we walk the framed openings, confirm sizing against the window schedule, and flag any framing issues — out-of-square openings, missing headers, or spacing problems — while they're still cheap to fix.
2. Flashing and Weatherproofing Layout
We plan the flashing sequence for the whole elevation at once, not window by window, so the house wrap laps correctly across every opening and ties cleanly into the siding plan that follows.
3. Install and Inspect
Each window is set, squared, shimmed, and fastened, then the flashing and sill pan are installed and checked before any siding goes over it. This is the point where we catch the mistakes listed above — before they're buried.
4. Final Water Test and Walkthrough
Once the elevation is closed in, we do a final check for square operation, smooth hardware function, and sealed-but-not-blocked weep paths, and walk the homeowner or builder through what was done at each opening.
Working With a Crew That Already Knows This Neighborhood
Pinehurst's mix of lot sizes, tree cover, and proximity to the Sound means every job has slightly different exposure — a lot with more wind exposure or less tree buffering needs more attention to head flashing and weep paths than a sheltered infill lot a few blocks over. A crew that already works this part of Everett has a feel for which elevations take the worst of the driving rain and which details actually hold up here, versus generic installation instructions written for a national market that doesn't deal with this much sustained moisture. That local judgment doesn't show up on a spec sheet, but it shows up in how the windows perform five and ten years out.
Snohomish County's building department also has its own inspection expectations for window and moisture-barrier work, and a crew that pulls permits and passes inspections in this jurisdiction regularly moves through that process without surprises or callbacks.
What to Ask Any Contractor Before They Start
- Do you install a sill pan on every opening, or only when asked?
- What's your house wrap lap order and how do you tie it into the window flashing?
- What fasteners and flashing tape do you use, and are they rated for coastal or high-moisture exposure?
- Will the sill weep path stay open, or is the whole perimeter caulked?
- Can you walk me through your process before the siding goes on, while the flashing is still visible?
Maintenance After Install
A correctly installed new-construction window in this climate needs very little upkeep, but a little attention goes a long way given the region's moss and mildew pressure:
- Clear debris and moss from sills and weep holes once or twice a year, especially after fall leaf-drop.
- Rinse salt residue off frames and glass periodically if the home is closer to the shoreline.
- Check exterior caulk lines annually for cracking or gaps, particularly after the first year as the house settles.
- Operate every window at least once each season so hardware doesn't seize from disuse in damp conditions.
If you're building, adding on, or replacing a rotted opening in Pinehurst, we're glad to walk the site, look at what's actually going on with your framing and exposure, and give you a straight assessment. There's no pressure and no cost to have us take a look — just a clear picture of what your windows need and what it'll take to get them installed right the first time.