 Everett
 New-Construction Windows for Delta Homes
When a home in the Delta neighborhood of Everett is being built from the ground up — or getting a room addition with new wall openings — the windows go in a completely different way than a window replacement does. New-construction windows are installed with a nail fin (sometimes called a nailing flange) that gets integrated directly into the wall's weather-resistive barrier before siding goes on. Done right, this is the single most important waterproofing detail on the entire house. Done wrong, it's the reason a wall looks fine for two or three years and then starts showing rot, staining, or soft trim around the window corners.
We install new-construction windows as part of siding and exterior envelope work throughout Snohomish County, and Delta comes with its own set of conditions worth planning for: proximity to Puget Sound salt air, wind-driven rain off the water, and a long stretch of the year where surfaces stay damp enough to grow moss and algae. None of that is exotic — it's normal Western Washington weather — but it changes how a window opening should be flashed and which products hold up best.
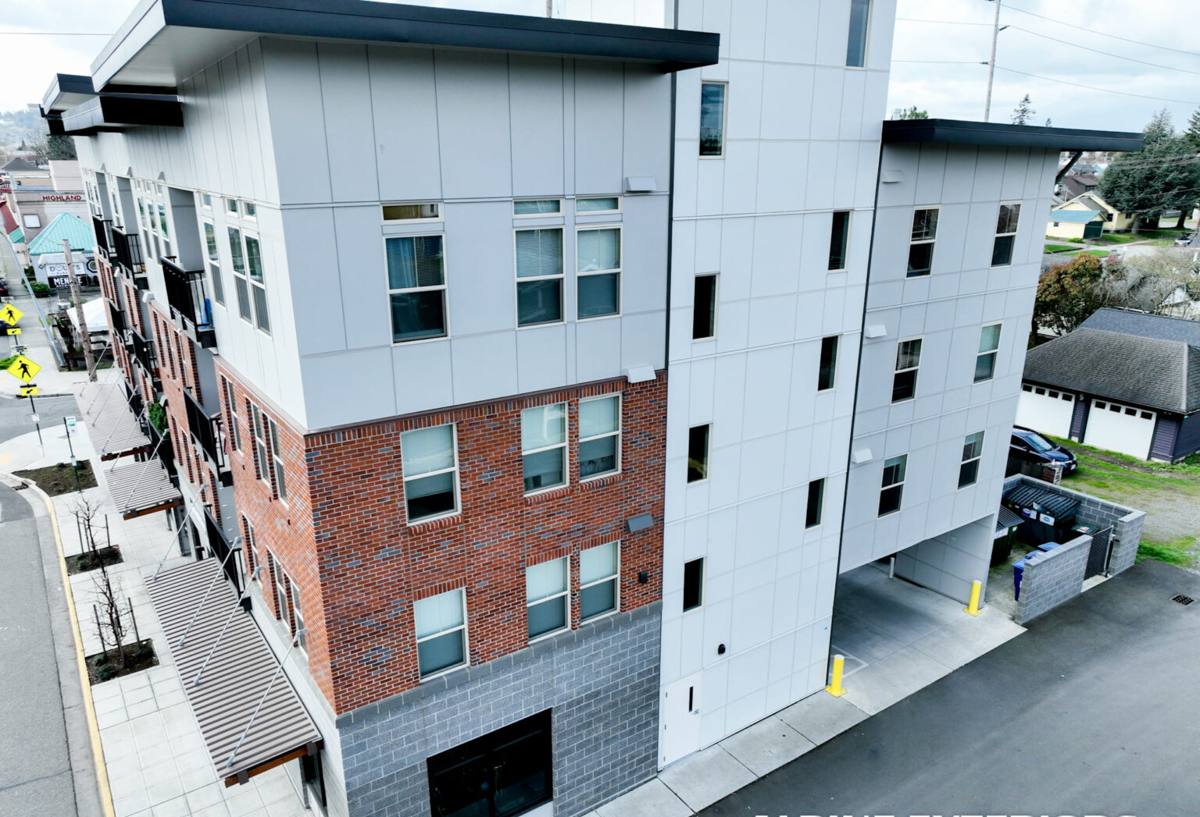
What Delta's Climate Actually Does to a Window Opening
Salt Air
Everett sits on Puget Sound, and homes closer to the water pick up airborne salt that accelerates corrosion on unprotected metal — screws, staples, flashing tape edges, and window hardware. It's a slow process, so it rarely shows up as a problem in year one. It shows up five or ten years later as a rusted fastener that's let water track behind the flashing, or hardware that's seized or pitted. The fix isn't complicated: use corrosion-resistant fasteners and flashing components at every window opening, not just on the ones facing the water.
Driving Rain
Storms off the Sound frequently push rain sideways, not straight down. A window that's only detailed to shed water that falls vertically will leak the first time a real windstorm hits. New-construction installation gives us the chance to build in redundancy — sill pans, back dams, and properly lapped flashing — that a retrofit into an existing wall often can't achieve without opening the wall back up.
Moss Season
Shaded, north-facing, and tree-lined walls in Delta can stay damp for months at a stretch, which is exactly the environment moss and algae need to establish. Around windows, that matters less for the glass and more for what's happening in the wall assembly directly behind the trim — trapped moisture in a wall cavity doesn't dry out quickly here, so any flashing mistake gets more time to do damage before anyone notices.
What a Correct New-Construction Window Install Actually Involves
This is where most of the long-term performance of a window is decided — and it happens before the window is even set in the opening.
- Sill pan flashing: a sloped, back-dammed pan under the window that carries any water that gets past the window itself back out to the exterior, instead of into the framing.
- Weather-resistive barrier integration: the housewrap or building paper is cut and lapped in the correct shingle-style order — bottom to top — so water draining down the wall never runs behind a seam.
- Nail fin sealing: the flange is sealed to the WRB with compatible flashing tape or self-adhered membrane, not just caulk, which degrades and cracks over time.
- Head flashing: a drip cap or head flashing above the window that kicks water out and away from the top of the opening, which matters most in wind-driven rain.
- Jamb flashing: side flashing that ties the sill pan to the head flashing into one continuous drainage path.
- Fastener compatibility: corrosion-resistant fasteners appropriate for coastal exposure, not standard interior-grade hardware.
Skip or shortcut any one of these steps and the window can still look perfectly installed from the outside while quietly failing behind the siding.
Choosing the Right Window for a Delta Build
Frame material and rating both matter more here than in a drier, calmer climate. A few honest trade-offs worth knowing before you decide:
| Frame Material | Strengths | Trade-offs |
|---|---|---|
| Vinyl | Cost-effective, low maintenance, good thermal performance | Can expand/contract more with temperature swings; quality varies widely by manufacturer |
| Fiberglass | Very stable dimensionally, strong, holds paint well, resists moisture | Higher upfront cost than vinyl |
| Wood-clad | Traditional interior look, solid performance | Cladding seams need careful detailing near a wet climate; more maintenance if damaged |
| Aluminum | Strong, slim sightlines | Poor thermal performance unless thermally broken; more prone to condensation |
Beyond material, two ratings matter for a Puget Sound install: the window's DP (Design Pressure) rating, which reflects how well it resists wind and water intrusion under pressure, and its U-factor, which affects how much heat the home loses through the glass and frame during our long, wet, cool winters. For a home in Delta, we'd rather see a mid-range window with a solid DP rating and good flashing than a premium window installed with shortcuts.
New Construction vs. Replacement: Why the Approach Is Different
| Factor | New-Construction Install | Replacement Install |
|---|---|---|
| Access to framing | Full access — sill pan and flashing built from scratch | Limited — works within existing opening |
| Flashing method | Nail fin sealed directly to WRB | Flush fin or insert method sealed to existing siding/trim |
| Best used when | New builds, additions, or full siding tear-off | Existing siding stays in place |
| Long-term risk if done wrong | Hidden behind new siding — harder to spot early | Often shows leakage faster since less redundancy is possible |
If your Delta project is a true new build or an addition, or if you're already removing siding for other reasons, new-construction windows are almost always the stronger long-term choice — you only get this level of access to the wall assembly once.
Our Process for a New-Construction Window Job in Delta
- Site walk and rough opening review: we confirm rough openings are square, correctly sized, and framed to spec before any window arrives.
- Sill pan and flashing plan: we lay out the flashing sequence for each elevation, paying extra attention to walls facing prevailing wind and rain.
- Window setting: the unit is set, shimmed level and plumb, and fastened per manufacturer spec — over-driving or under-driving fasteners is a common source of frame distortion and air leaks.
- Flange and WRB integration: nail fins are sealed and taped in the correct shingle-lap order, tying into the broader weather-resistive barrier of the wall.
- Head flashing and cap: installed to direct water away from the top of the window before siding closes the wall up.
- Interior and exterior air sealing: gaps are sealed for both energy performance and to keep moist air from condensing inside the wall cavity.
- Final inspection: we check every opening against the flashing plan before siding installation begins, since this is the last point where corrections are simple.
What Affects Cost on a New-Construction Window Job
| Factor | Why It Matters |
|---|---|
| Number and size of openings | More or larger windows mean more flashing detail work and material |
| Frame material selected | Vinyl, fiberglass, wood-clad, and aluminum all carry different price points |
| Wall orientation and exposure | Walls facing prevailing wind and rain may warrant extra flashing redundancy |
| Coordination with builder/GC schedule | Tight sequencing with framing and siding trades affects labor efficiency |
| Site access | Delta's mix of lot sizes and setbacks can affect staging and scaffolding needs |
We're not going to quote a number here without seeing the plans — window count, sizes, and elevations swing the price too much for a broad range to be useful. What we can tell you honestly during a site visit is where the money is best spent versus where you can save without cutting a corner that matters.
A Practical Checklist for Delta Homeowners and Builders
- Confirm the window's DP rating is appropriate for your wall's wind and rain exposure, not just the minimum code requirement.
- Ask specifically how sill pans and back dams will be built at each opening — this should never be a vague answer.
- Verify fasteners and flashing components are rated for coastal/salt-air exposure.
- Make sure the WRB lap sequence (bottom-up, shingle-style) is part of the written scope, not left to interpretation on install day.
- Coordinate window install timing with siding installation so flashing isn't left exposed to weather longer than necessary.
- Keep manufacturer installation instructions on file — they govern warranty coverage if something goes wrong later.
Why Local Experience in Delta Matters
A crew that already works Snohomish County jobs knows how differently a window opening on a shaded, tree-covered Delta lot behaves compared to one on an open, sun-exposed site a few miles away — and adjusts flashing and product choices accordingly instead of using one generic approach everywhere. We also know how to sequence window and siding work around the wetter stretches of the year here, so flashing details aren't left open to the weather longer than they need to be. That kind of judgment only comes from doing this work repeatedly in this exact climate, not from a general install checklist.
If you're planning new-construction windows for a build or addition in Delta, we're happy to walk the site, review your plans, and give you a straightforward, no-pressure estimate — just fill out the form below to get started.